Just the mere thought of canning can be intimidating. Very intimidating, in fact. But it doesn’t have to be. Sure, canning takes time and a little extra effort upfront, but the benefits extend well into the year beyond. And we’ll show you what equipment and supplies you’ll need and some easy steps to take so you can feel confident when it comes to cans.
Come wintertime, when that great-tasting, local, seasonal produce is harder to come by in certain parts of the country (and when produce of any kind can get expensive), you’ll thank yourself for the hard work you put in late summer or fall. Canning also helps you save the planet by preserving the bounty of the harvest season and/or your own garden.
Oh, but there’s more. DIY canning gives you more control over your food sourcing because you know where your produce came from and you can control for added salt and sugar for “cleaner,” healthier options. Not to mention, there’s the cost savings and convenience factor that come into play when you don’t have time to go to the store and want something fresher, more homemade, and (we think) better-tasting than commercial-grade canned goods. Just picture one of those colder, grey days when you could simply open your pantry and grab a jar of super sweet tomatoes for a pasta sauce, pour some summertime salsa into a crockpot with chicken, or throw some canned, peak-season blueberries in a bowl of yogurt or overnight oats.
Simply making jams or quick pickles and storing them in the fridge without the “canning” method is easier, of course, but those jars can take up precious cooler real estate — not to mention, they have a much shorter shelf life (weeks versus months). When canned correctly to prevent food safety issues, you can line the shelves of your pantry and cupboards with as many jars of preserved goodies you can fit — and even show them off as part of your kitchen décor or give them away as holiday gifts. Here are some tips on how to can safely and effectively can — without the stress.
Understand the “canning” process
Even though we’re using the word “can,” this at-home type of long-term preservation actually uses glass jars. Canning can be done using the water bath method or via pressure canning at much higher temperatures using a steam pressure canner, which is a piece of specialty equipment that resembles a pressure cooker (though it’s not the same thing). The water bath method is slightly easier — you pack food into canning jars with lids and submerge them in a big pot of boiling water for a certain period of time to kill off any microorganisms that could cause spoilage. Submerging the jars in boiling water also creates a vacuum seal to keep bacteria out.
PRO-TIP: Set aside some time to can; you can likely get what you need done in a Sunday afternoon but allow for extra prep and cleanup time. And it’s OK to start small — Rome wasn’t built in a day. You could try a jelly or two and see how they turn out.
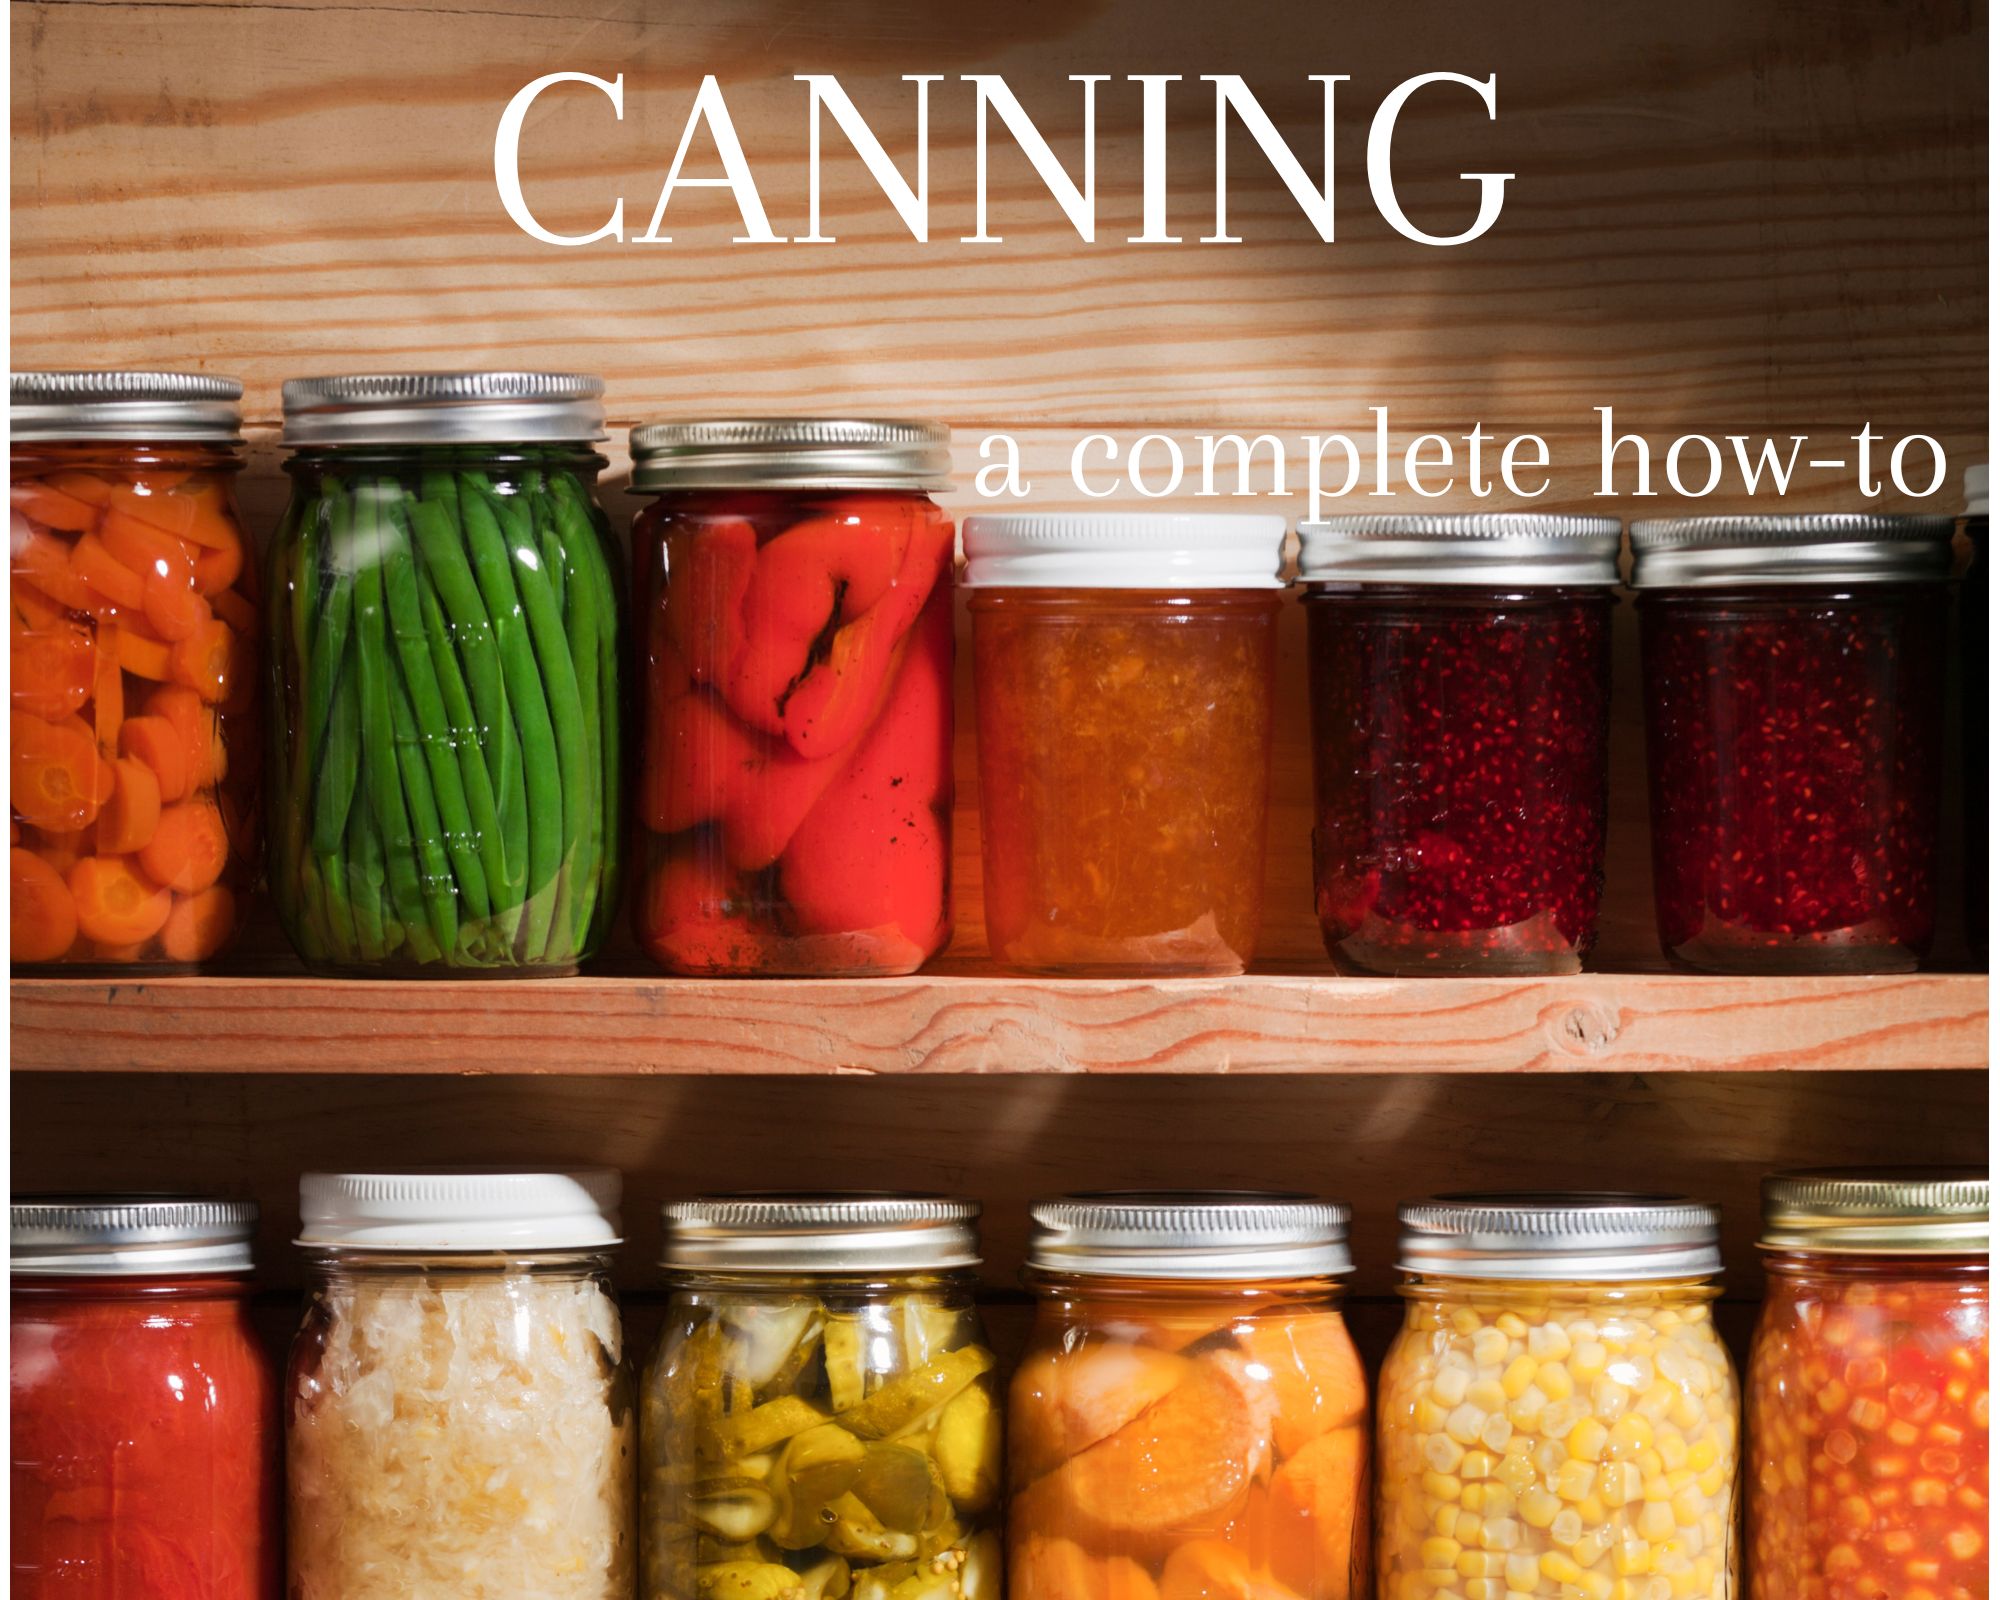
Pick the right products to can
Some types of produce are more appropriate (and safer) with the water bath method than others when canned at home. When using the water bath method, highly acidic foods such as fruit jams and jellies, tomato sauces, some salsas, chutneys, vinegars, pickles and relish fare better than less acidic foods like green beans, corn, meat, and seafood. Less acidic foods with pH values higher than 4.6 must be processed at temperatures of 240 degrees F or greater to kill bacteria. In the summertime, stock up on freshest fruits and vegetables you can find from farmer’s markets, U-pick farms or your own garden.
PRO-TIP: Some farmers at markets will even offer bulk discounts on “ugly” produce not sold toward the end of the day just to offload their supply.
Use the right equipment, supplies, and add-in ingredients
Canning can be done with a few basic pieces of equipment and supplies, but there are even complete DIY canning kits on the market now. At the very least, you’ll need a handful of mason jars with lids/rings, an extra-large pot for sterilizing (like a Dutch oven or deep stockpot), plastic or wooden spatulas for removing air bubbles from the jars and packing the food tightly, and some other basic kitchen equipment like measuring cups and spoons, a strainer/colander, and a kitchen timer. Pro canners highly recommend buying a plastic (or metal) wide mouth jar funnel to make the filling stage a snap and jar lifter tongs, which help you lift hot jars from the pot safely without burning your hands. Magnetic lid lifters accomplish the same thing. You might also want to buy a stainless steel round canning rack for the sterilization process (see sterilization tip to follow) or just to ensure the water circulates around the jars.
PRO-TIP: Use only specialized canning jars and inspect the jars for any cracks or chips; they can cause breakage at high temperatures. It’s ok to reuse jars but consider investing in new lids to make sure you get a good seal.
Find and follow recipes for the fillings
Even something as simple as jam or jelly requires certain ratios of acid-to-sweetener when canning. While pectin is a natural gelling agent found in many fruits, some recipes call for added pectin, which you can purchase in liquid or powdered form. For lower-sugar recipes, there are some special types of pectin available. Some recipes call for adding additional acid, typically lemon juice for fruit preserves and white vinegar for vegetable ones. And don’t forget, it’s important to follow recipe processing times to ensure food safety.
PRO-TIP: It’s easiest to prepare your fillings just before or while you sterilize your jars so you don’t have to worry about properly cooling them to avoid bacteria-causing temperature danger zones.
Sterilize your jars first
Clean your jars and lids with soap and water. To sterilize manually, place a stainless steel round canning rack at the bottom of your large pot and place jars on the rack spaced about an inch apart. Fill with water deep enough to cover at least an inch or two from the top, cover the pot with a lid, and bring the water to a boil. Continue to boil for 10 minutes. Keep them hot and simmering during the filing process.
PRO-TIP: You can save time and literally skip this entire manual process by running the jars and lids through a dishwasher cycle with the extra sterilization step added at the end.
Fill your jars
Using your canning tongs, remove the lids from your simmering water and place them on paper towels. With the jars continuing to simmer in the pot, remove one sterilized jar and top/ring at a time, placing it on a paper towel. Add your filling using a ladle and wide-mouth funnel, scraping the sides of the jar with a plastic spatula to remove air bubbles and pack tighter. You can even use wooden chopsticks or toothpicks to poke at any air bubbles. Don’t fill to the brim — leave about a quarter-inch space from the top. Place the top tightly on the jar and screw on the ring part. As you fill each jar, set it back in the simmering water. Once all the jars have been filled, add enough water (if needed) to cover by about an inch. Bring to another boil and continue to boil for 10 minutes.
PRO-TIP: Listen for a popping sound and check that the lid is not popping up to ensure the jar has properly sealed. You’ll know the jar isn’t sealed properly if the lid pops up and down slightly when pressed. If that’s the case, you can simply refrigerate the jar for use in the next two weeks.
Store your canned goods correctly
Store jars in a cool, dark and dry place, about 50 degrees F to 70 degrees F for the ideal storage that will last about a year. It’s not a bad idea to store your canning equipment and utensils in a plastic storage box or special space of a cabinet to keep them clean and free of debris. Plus, they’ll be easier to find this way when you’re ready to can again!
PRO-TIP: You’ll know if canned goods have gone bad if there’s a bulging lid, a lid that’s rusty, or food that looks moldy or cloudy or gives off an unpleasant odor when opened.