Did you know that you don’t need an ice cream maker to make creamy, delicious ice cream right at home? In fact, you only need two ingredients.
Yup, you read that correctly – two measly ingredients are all that separate you and fresh, homemade ice cream to beat that summer heat. A simple combination of heavy cream and sweetened condensed milk create a perfectly creamy ice cream base that can be infinitely customized with flavors and mix-ins.
But before we get into the how-to and flavor variations, let’s dive into why this recipe works.
What Is No-Churn Ice Cream?
No-churn ice cream is exactly what it sounds like – ice cream made without an ice cream maker. Traditional ice cream starts with a base of milk, cream, sugar, vanilla, and often, eggs. The base is then transferred to the ice cream maker which churns it, incorporating air and creating lightness and volume.
Creating the same airy result without a machine involves introducing the air into one of the ingredients instead of the whole batch. If you’ve ever made homemade whipped cream, you know that volume and lightness are achieved by whipping air into heavy cream. This whipped cream is then used as one of the two ingredients in no-churn ice cream, resulting in that light, creamy texture that is the hallmark of this favorite treat.
How Can You Make Ice Cream With Only Two Ingredients?
While whipped cream provides the airy texture, sweetened condensed milk provides the sweetness and richness. And to understand why it’s the only other ingredient needed, we first need to understand what exactly this ingredient is.
Sweetened condensed milk is milk that has been cooked down to remove most of the water. Sugar is then added, which both sweetens the condensed milk and prolongs its shelf life (which is why you’ll find it sitting on the shelf rather than in the fridge at the grocery store).
By removing most of the water, you avoid the formation of icy crystals. Also, the high sugar content lowers the freezing point, making your ice cream smooth, creamy, and “scoop-able”. These two properties are what make sweetened condensed milk the other essential ingredient in no-churn ice cream.
Making No-Churn Ice Cream
Start by whipping 2 cups of chilled heavy cream until soft peaks form. The soft peak stage is reached when the whipped cream has thickened but is still smooth, and not clumpy or grainy looking. Then pour in 14 oz sweetened condensed milk and continue whipping just till the ingredients are completely incorporated.
Pour the mixture into a pan, bowl, or large dish, cover with plastic wrap, and freeze overnight.
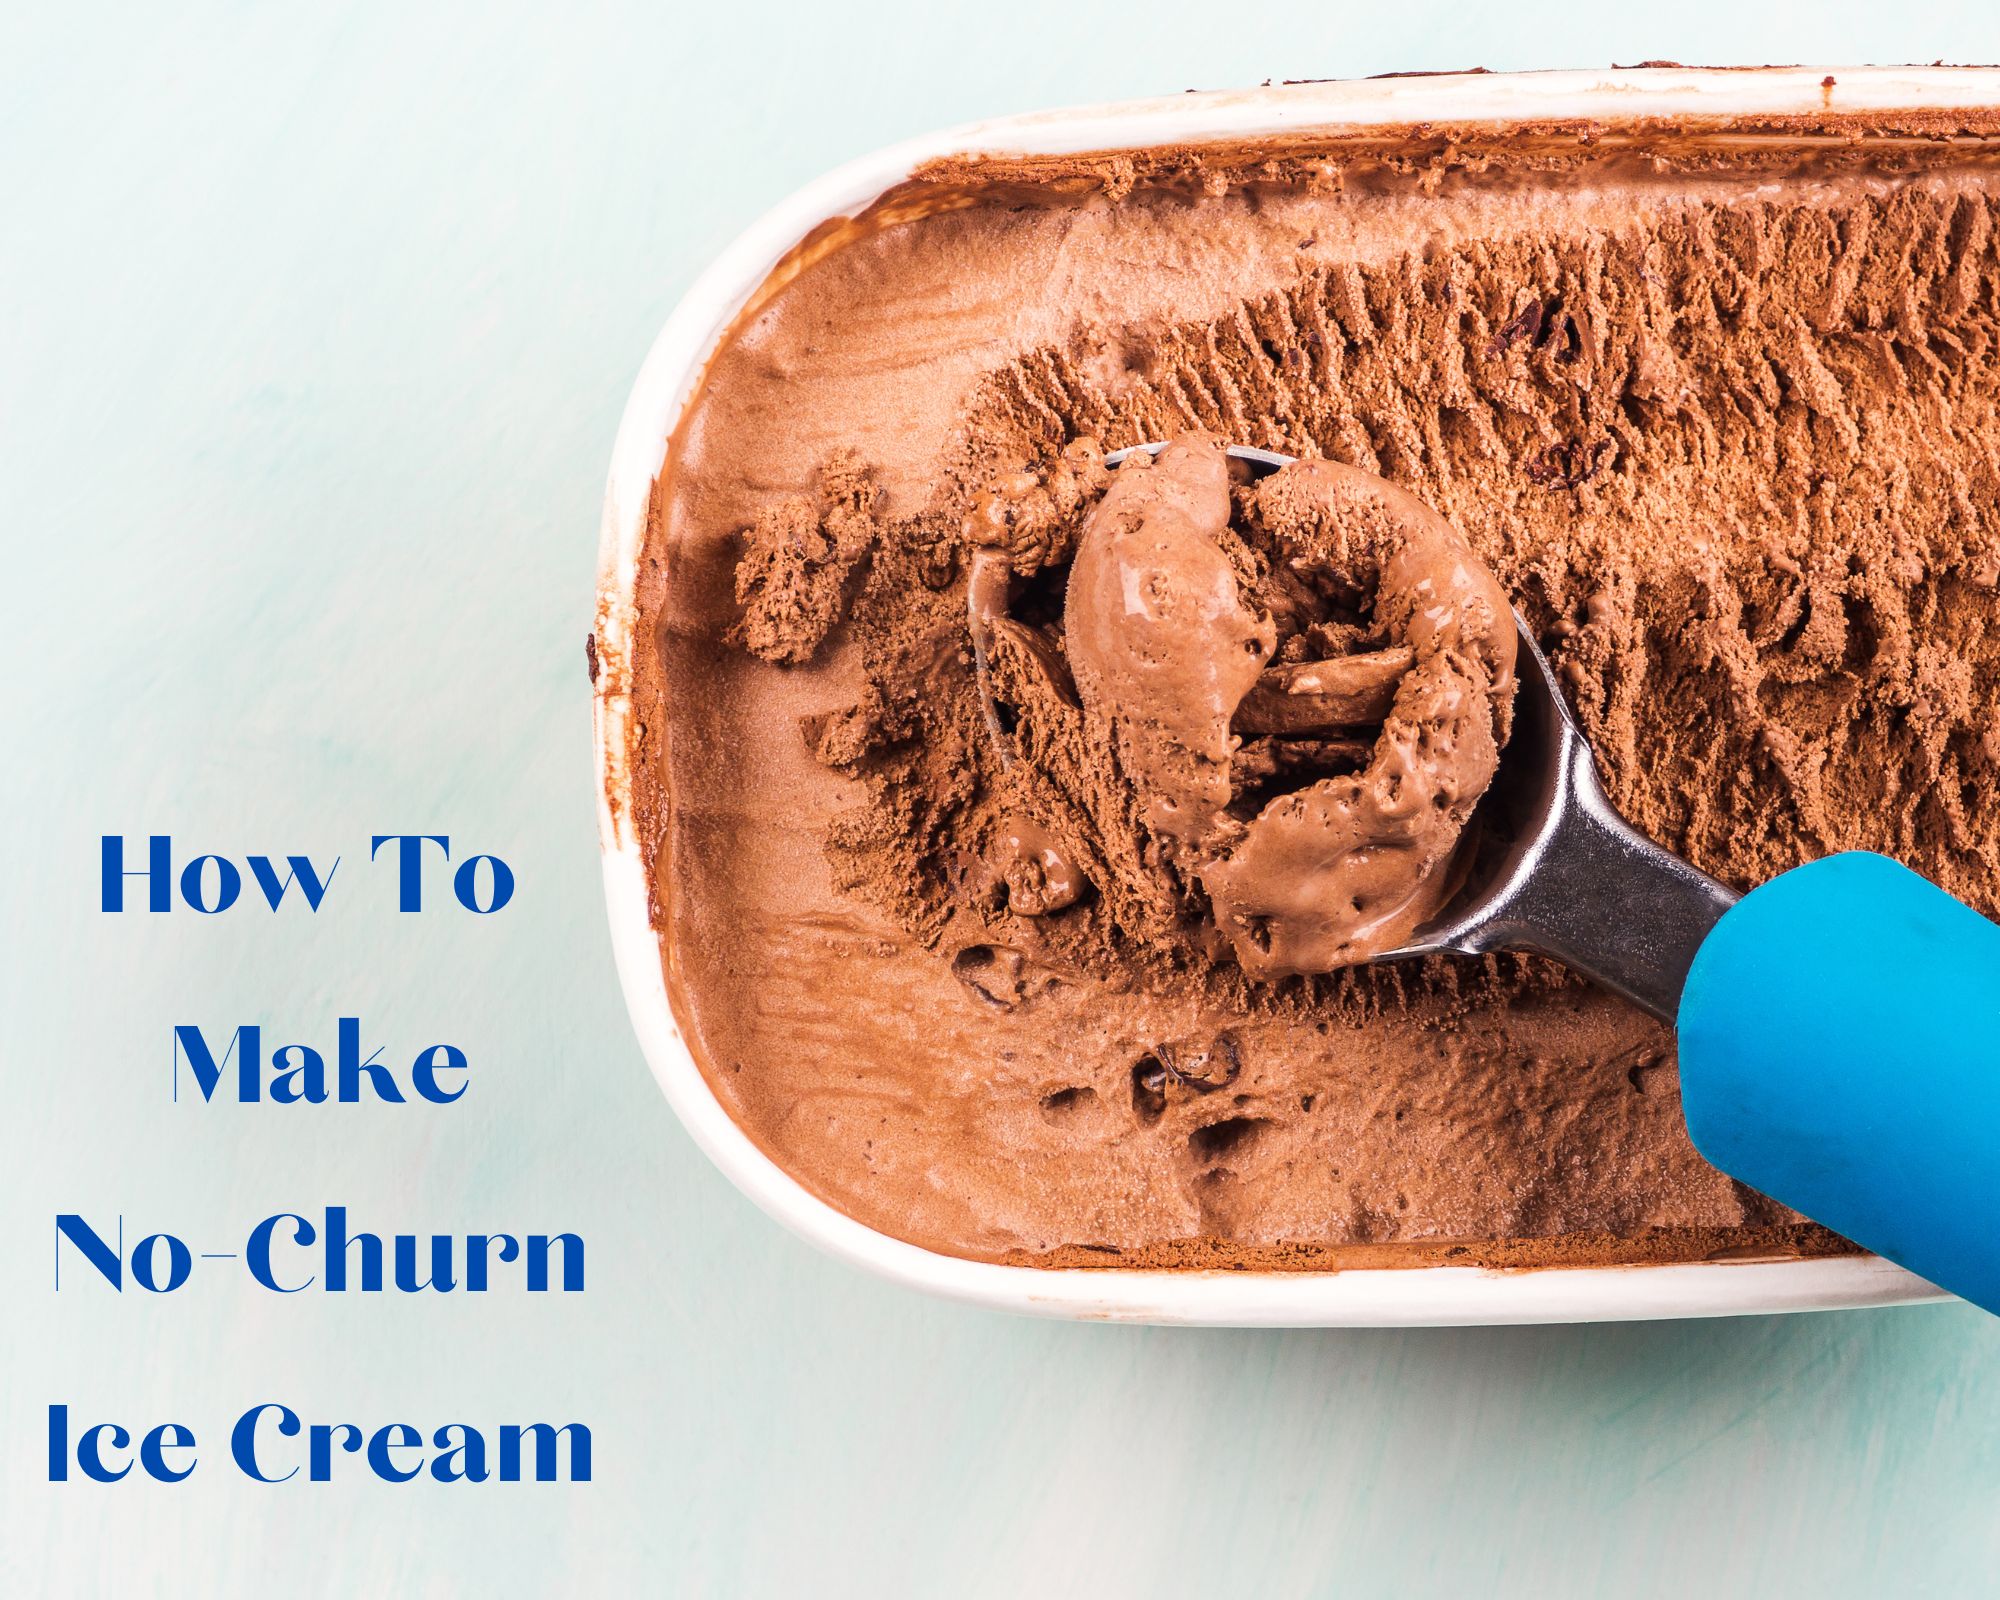
You’ve just made ice cream without an ice cream maker!
Ways To Flavor No-Churn Ice Cream
We’ve made dozens of variations of no-churn ice cream over the years, and your road to flavor can take a few different paths.
Infuse The Heavy Cream
You can impart flavor to the heavy cream itself by infusing it before you whip it up. To do this, place the cream in a saucepan, bring it to a simmer, and add your flavorings like vanilla bean or fruit. Cover, let sit for 10 minutes, then strain and discard the mix-ins. Commonly used ingredients for this method are those that wouldn’t go directly into the ice cream, such as whole spices and fresh herbs. Since the cream needs to be cold, this process requires a little advance planning, as you’ll need time to infuse the cream and return it to the fridge to chill it.
Whip Ingredients Right Into The Heavy Cream
You can also whip flavors in right along with the heavy cream. You’ve got lots of options here; we love instant espresso, unsweetened cocoa powder, dehydrated fruits, a scraped vanilla bean, or ground spices such as cinnamon, cardamom, nutmeg, or ginger.
Layer In Your Favorite Flavors
Layering your ice cream results in a lovely swirled effect. After you whip up your base, pour one-third or one-quarter into your pan or bowl. Then add your ingredient of choice and repeat layering. Use a thin knife to swirl the ingredients, creating a pretty, marbleized effect. Favorite layering ingredients include fudge sauce, cookie butter, Nutella, jams or preserves, honey, or caramel.
Mix-Ins for The Win
Bring the ice cream shop home with your choice of mix ins, which get folded into the base prior to freezing. Think chocolate chips, nuts, chopped cookies and candies, sprinkles, or toasted coconut flakes!
Tips For Success
In addition to being two-ingredient easy and so delicious, no-churn ice cream is practically foolproof. That said, here are a few tips to ensure success:
– Cold heavy cream is key to achieving the lightest whipped cream with maximum volume. We even go as far as popping the mixing bowl and whisk into the freezer to keep things as cold as possible.
– Don’t over whip the cream! For the smoothest texture, stop your machine once the whipped cream is nice and thick with lots of volume, but still soft and pillowy in texture. It’s better to under whip than go too far.
– If you’re layering your flavors, a quick pop in the microwave will loosen up thicker ingredients such as peanut butter or Nutella, making them easier to swirl through the base.
– Store your homemade ice cream in an airtight container for 3 to 6 months. You can press a layer of plastic wrap on the surface to prevent ice crystals from forming.
Now grab your cones, sprinkles, and hot fudge sauce!