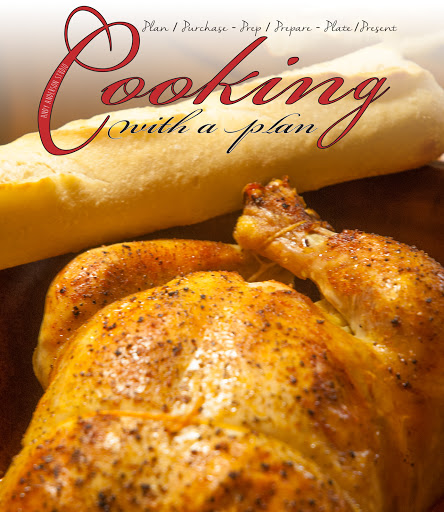
poultry essentials: clay pot roasted chicken

Clay pots were very popular during the Roman era, and history records their use even further back. This recipe is very basic, although I have added a few of my own touches to the dish. If you do not have a clay pot, you might consider getting one; they have so many wonderful uses. So, you ready… Let’s get into the kitchen.
prep time
15 Min
cook time
1 Hr 30 Min
method
Bake
yield
4 - 6
Ingredients
- PLAN/PURCHASE
- 1 brine solution, more on this later
- 1 large whole chicken, 4 – 5 pounds (1.8 – 2.2 kg)
- 1 medium yellow onion, thickly sliced
- 2 stalks celery, cut on the bias, 1-inch thick (2.5cm)
- 2 medium carrots, cut on the bias, 1-inch thick (2.5cm)
- 3/4 cup chicken stock, not broth
- 1 medium apple, quartered
- 2 tablespoons sweet butter, unsalted, softened
- black pepper, freshly ground, to taste
- sweet paprika, to taste
How To Make poultry essentials: clay pot roasted chicken
-
 Step 1PREP/PREPARE
 -
Step 2Gather your Ingredients (mise en place).
-
Step 3Chef’s Note: Make a standard brine solution (1/4 cup fine-grained kosher salt, per quart of water), and make enough to cover the chicken.
-
Step 4Allow the chicken to brine, in the fridge, for 2 hours.
-
Step 5While the chicken is brining, soak the clay pot in water.
-
Step 6Remove the chicken from the brine, and rinse; inside and out.
-
Step 7Prep your veggies.
-
Step 8Lay the veggies in a layer at the bottom of the pre-soaked clay pot.
-
Step 9Add the chicken stock.
-
Step 10Add the quartered apple to the cavity of the chicken, and then truss.
-
Step 11Place the chicken on top of the veggies, and rub the skin with the softened butter.
-
Step 12Sprinkle with the pepper, and paprika.
-
Step 13Chef’s Note: Because we have brined the chicken, we will not be adding any additional salt.
-
Step 14Place a rack in the bottom position of a cold oven, and then cover the clay pot, and place into the oven.
-
Step 15Set the temperature to 450f (235c).
-
Step 16Bake the chicken until the juices run clear, about 1.5 hours.
-
Step 17Chef’s Note: Allow the chicken to rest for 10 minutes before carving.
-
Step 18Chef’s Note: Discard the apple before carving.
-
Step 19PLATE/PRESENT
-
Step 20You can separate the veggies from the broth, and then serve it on the side with the carved chicken. Enjoy.
-
Step 21Keep the faith, and keep cooking.
- Last Step: Don't forget to share! Post a picture of your finished recipe here and on your favorite social network. Don't forget to tag Just A Pinch and include #justapinchrecipes!


Discover More
Category:
Chicken
Ingredient:
Chicken
Diet:
Gluten-Free
Diet:
Wheat Free
Diet:
Soy Free
Method:
Bake
Culture:
American
Tag:
#Heirloom
Comment & Reviews
ADVERTISEMENT
Just A Pinch Sweepstakes