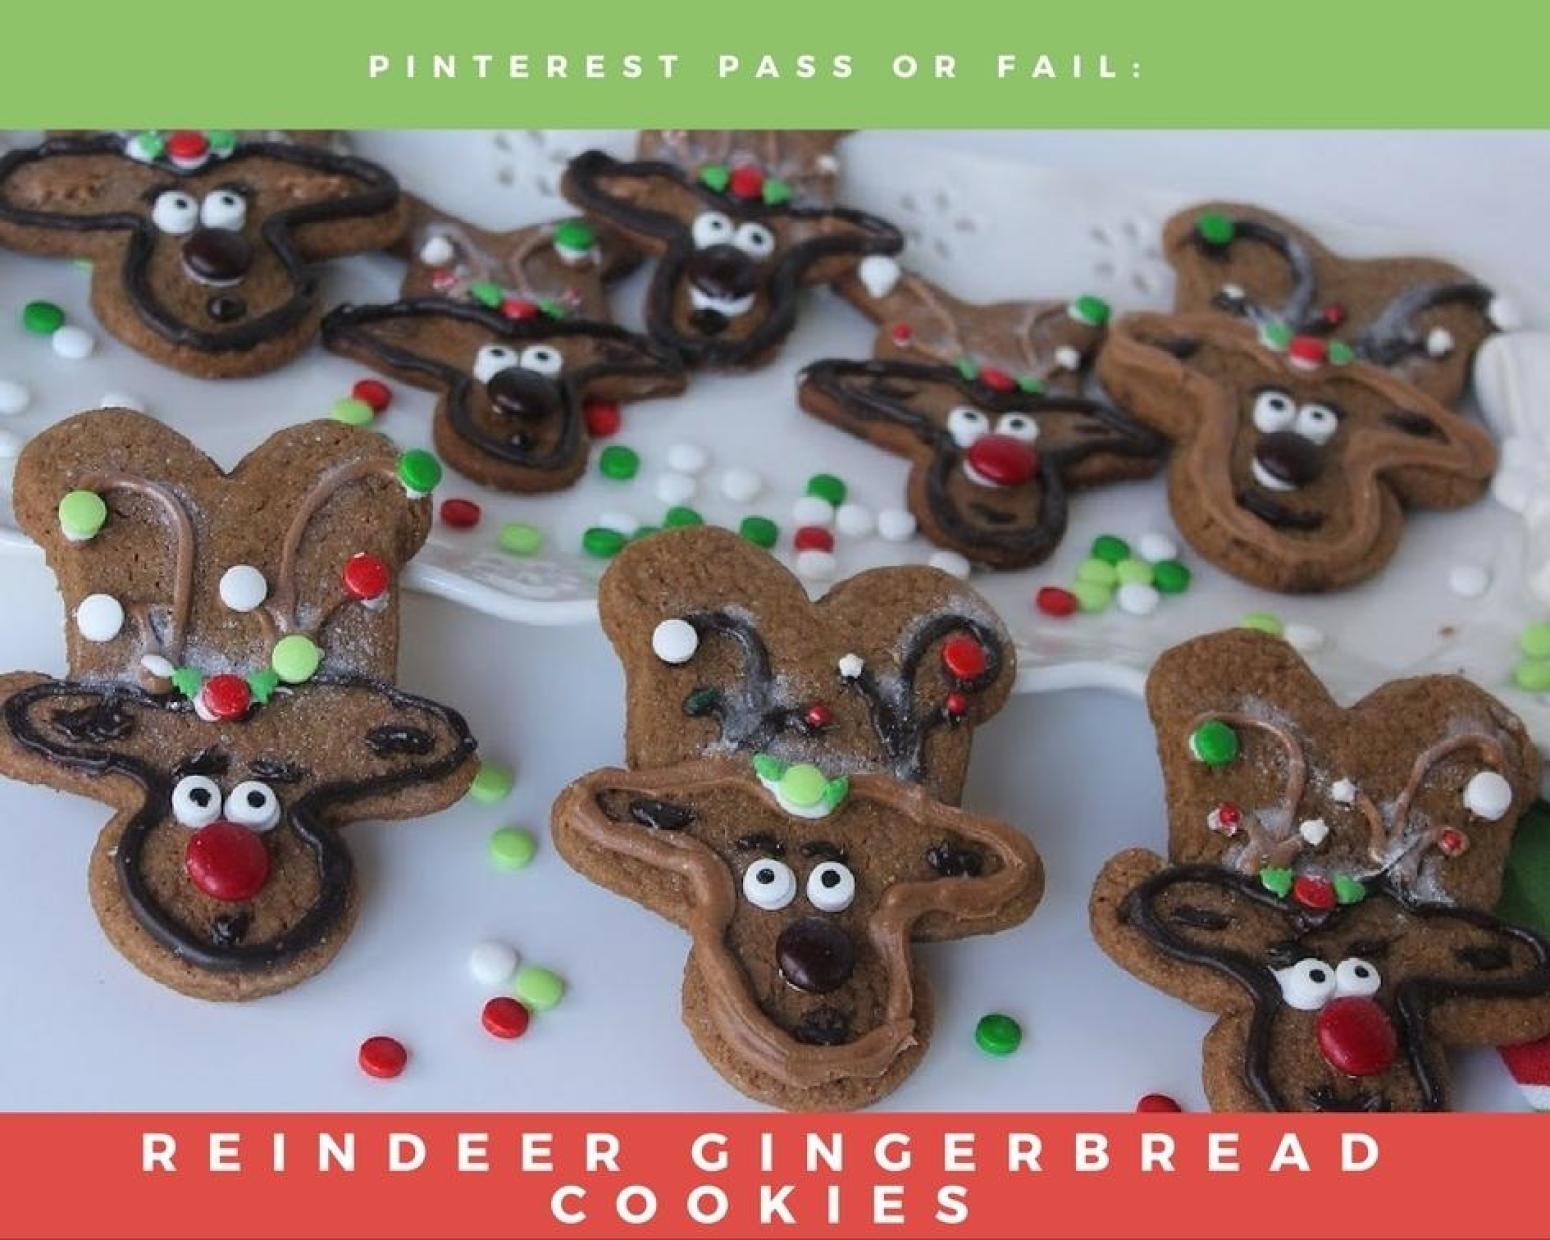
We instantly fell in love with the adorable Reindeer Gingerbread Cookies we found at TheSweetChick.com. Carole’s recipe became our inspiration for our next Pinterest Test Kitchen Challenge.
What You’ll Need
- Your favorite Gingerbread cookies (we used a Betty Crocker mix in the Test Kitchen to save time)
- 2 different shades of Wilton melts, we used peanut butter and dark chocolate
- Wilton eyes, the smallest available
- M&Ms, red and brown
- 2 piping bags
- 2 #3 piping tips
- Christmas sprinkles of your choice
- Pre-made cookie icing
- Toothpicks
- Tweezers
- Wilton Pearl Dust
- A small brush
1. Gather the supplies.

2. Separate sprinkles, if needed.

3. Make the gingerbread and roll thin. Using a cookie cutter, cut out gingerbread men.

4. We tested using two different sized cookie cutters. And, we rolled the dough thin and thick.

5. We felt the smaller cookie cutter rolled thinner worked better.


6. While the cookies are cooling, prepare bag the piping bags.

7. Melt one color of the Wilton melts in a double boiler until smooth.


8. Pour melted candies into a prepared piping bag.

9. Allow color to cool a bit before using. Use one color at a time. Then prepare your other color and allow to cool.

10. Let’s decorate! Turn cookie upside down and use the head as the nose and outline a face.

11. Draw antlers up to the top of the legs in a long swoop first.

12. Add smaller detail.

13. Add two dabs of icing for eyes as glue.

14. Place eyes.

15. Draw eyebrows with a toothpick dipped in melted candy.

16. Add a tiny bit of icing to the back of a red M&M for the nose.

17. Place M&M for the nose.

18. Dip a toothpick in chocolate and draw a mouth and inside of the ears.


19. Let the faces dry and harden completely.

20. Place icing above the face and on antlers. Using tweezers, place sprinkles.


21. Using a brush, place pearl dust where snow would gather.

22. The finished product!

Test Kitchen Tips
- When letting faces dry, stick the tray in the freezer for about 5 minutes. It will speed the process along.
- There’s no wrong way to do this, but we found placing the nose first then the eyes easier.
- We played around with the thickness of the cookie dough along with the size of the cookie cutter. Both cookie cutters worked, but having the dough thinner gave the cookie more definition.
- Make sure the candy melts package says melts smooth. We tried with a toffee melt… it definitely did not melt smooth (see photo below). The second try we used peanut butter and that melted beautifully.
- You can leave the pearl dust out if you’d like. We used it on the antlers where snow would gather. It does help to hide design imperfections, but this is not a must-have ingredient.
Test Kitchen Review: A Pinterest Pass, but…
This cookie is not extremely hard to make, but it is very time-consuming. We’ve used piping bags before, but never with melted chocolate like this. It’s not thick like icing and is runny – you must move quickly. The cookies didn’t turn out professional, but they were pretty cute. The chocolate was a bit of a struggle. If you’d like to do this, try using a buttercream frosting tinted with a gel in two tones of brown. It won’t firm up like the chocolate, but it will be much easier to decorate. If you’re a perfectionist, this cookie may not be for you.
Our candy melt oops with English toffee.
