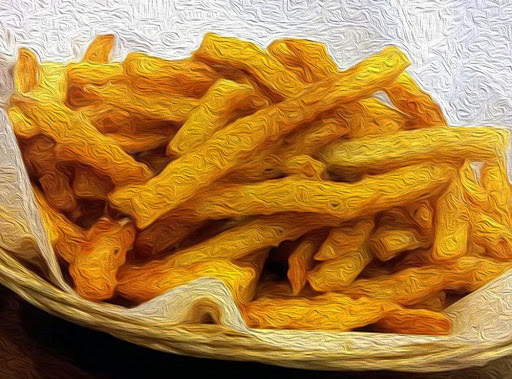
squash french fries

Let’s face it… French fries are awesome… we fry them in oil, cover them in salt, smother them in ketchup, and eat them by the ton. They’re good, but they’re not that good for you… This recipe creates crispy fries; however, not with the humble russet potato, but with a nice Summer, or Fall squash. Trivia Note: Did you know that Thomas Jefferson served French fries at the White House during his presidency...
prep time
15 Min
cook time
40 Min
method
Bake
yield
4 serving(s)
Ingredients
- 1 medium squash, about 2 pounds
- 2 tablespoons olive oil, extra-virgin
- kosher salte, to taste
How To Make squash french fries
-
 Step 1Peel and de-seed the squash.
 -
Step 2Chef’s Note: They're fairly easy to peel, but you'll need a sharp knife to cut through the tough skin.
-
Step 3Slice it in half, and then cut up French-fry shapes.
-
Step 4Chef’s Note: The trick to crispy squash fries is the water content of the squash… you want as little as possible. One way to achieve this is to place the squash fries on paper towels, and then sprinkle with common table salt… Wait about 15 minutes, and then blot up all the extra moisture.
-
Step 5After drying off the fries, lightly brush them with the olive oil.
-
Step 6Place the fries on a cooling rack, fitted inside a rimmed baking sheet, and sprinkle on the kosher salt. Chef's Note: If you’re using the table salt to dry out the fries, then go easy with the kosher salt in the next step.
-
Step 7Chef’s Note: If you first spray the cooling rack with a non-stick spray, it will help in their removal, after you bake them.
-
Step 8Place a rack in the middle position, and then pre-heat oven to 425f (220c).
-
Step 9Bake for 40 minutes or so. Fries are done when they are starting to brown on the edges and get nice and crispy.
-
Step 10Chef’s Note: You really need to watch these during the cooking process… It’s all in the timing. Too long, and they come out dried and tasteless, too soon, and they are still raw in the center. The process does have a lot to do with your oven, and proper calibration. I might suggest that you try a few at a time; changing the baking time, until you achieve the desired results.
-
Step 11Chef’s Note: Since you are using a cooling rack, it lifts the squash fries off the baking sheet, allowing them to breathe. If you don’t use the cooling rack, and place them directly on the baking sheet, first line the sheet with parchment paper, and second, you will need to flip them over, halfway through the baking process.
-
Step 12Serve with ketchup, or whatever you like… I like serving them with a Chipotle Aïoli that I’ll post in a bit.
- Last Step: Don't forget to share! Post a picture of your finished recipe here and on your favorite social network. Don't forget to tag Just A Pinch and include #justapinchrecipes!


Discover More
Category:
Vegetables
Category:
Other Snacks
Tag:
#Quick & Easy
Tag:
#Healthy
Diet:
Vegetarian
Keyword:
#squash
Keyword:
#baking
Keyword:
#Fries
Ingredient:
Vegetable
Method:
Bake
Culture:
American
Comment & Reviews
ADVERTISEMENT
Just A Pinch Sweepstakes