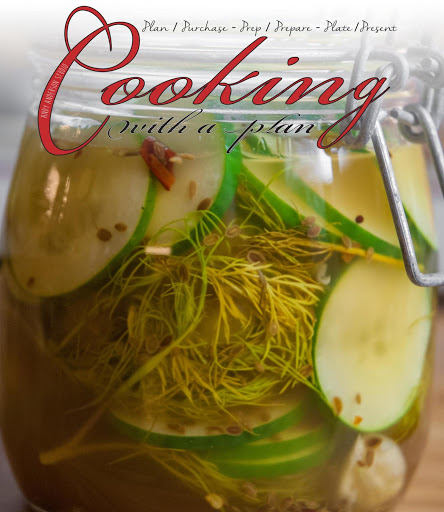
easy peasy dill pickles

I love dill pickles; they’re cool, crunchy and wonderfully sour… And they are a cinch to make… no special tools required. As a matter of fact, you can whip up a batch of dill pickle pints in thirty minutes or less. And they make excellent gifts to give out during the holidays. So you ready… Let’s get into the kitchen.
prep time
15 Min
cook time
10 Min
method
Stove Top
yield
Bunches
Ingredients
- PICKLE BRINE
- 1 cup cider vinegar
- 1 cup filtered water
- 2 tablespoons salt, kosher variety, or 1 tablespoon if using table salt
- 1 teaspoon sugar, granulated variety
- 1/2 teaspoon red pepper flakes, for kick (optional)
- 2 teaspoons dill seed
- THE PICKLES
- 2 cloves garlic, peeled and smashed
- 4 sprigs fresh dill weed
- 1 pound cucumbers (i prefer kirby or persian)
How To Make easy peasy dill pickles
-
 Step 1PICKLE BRINE
 -
Step 2Gather your ingredients.
-
Step 3Thoroughly, clean out the containers that you are going to use for your pickles.
-
Step 4Chef’s Note: These are not “canned” pickles. These are keep ‘em in the refrigerator and eat within a week or two pickles.
-
Step 5Place all the brine ingredients in a saucepan, and bring to a slow simmer, allow to simmer for about 10 minutes.
-
Step 6Chef's Note: If you want Bread-and-Butter type pickles add 1-1/2 cups sugar, or honey. Skip this for dill pickles.
-
Step 7While the brine is simmering, wash and dry the cucumbers, and cut off the blossom end.
-
Step 8Chef’s Tip: The blossom end of a cucumber contains enzymes that, over time, cause your pickles to go limp. And if there’s anything that I hate… It’s a limp pickle.
-
Step 9Slice the pickles into spears or ovals… Up to you.
-
Step 10Remove the brine solution from the heat and allow it to cool to about 110-115f/43-46c.
-
Step 11Chef's Note: You can fully cool the brine down, and then add it to the cucumbers, but then you'll need to put them in the fridge for a couple of days before digging in. If you use really hot brine, you'll wind up making limp pickles... And you KNOW how I feel about limp pickles. 110f/43c is a balance between waiting a few days or a few hours...
-
Step 12Divide the dill weed, and garlic between two 1-pint containers. Or whatever container you choose to use.
-
Step 13Chef's Tip: Dill isn't all you can make! Swap out the dill seed for tumeric, black peppercorns, mustard seeds, or any other spices that sound good to you.
-
Step 14Put as many sliced cucumbers into the jars as can fit without smashing.
-
Step 15Pour in the brine, making sure that you cover all the cucumbers, and then allow the containers to cool to room temperature before refrigerating.
-
Step 16Chef's Tip: A handful of fresh grape, raspberry, oak, blackberry or cherry leaves (these types of leaves supply tannins, which help keep the pickles crispy and crunchy)
-
Step 17Chef’s Note: They should last in the refrigerator for about two weeks… assuming they don’t get gobbled up first.
-
Step 18Keep the faith, and keep cooking.
- Last Step: Don't forget to share! Post a picture of your finished recipe here and on your favorite social network. Don't forget to tag Just A Pinch and include #justapinchrecipes!


Discover More
Category:
Vegetables
Tag:
#Quick & Easy
Diet:
Vegetarian
Diet:
Gluten-Free
Diet:
Vegan
Diet:
Low Fat
Diet:
Dairy Free
Diet:
Kosher
Diet:
Wheat Free
Diet:
Soy Free
Diet:
Low Carb
Keyword:
#Garlic
Keyword:
#snacks
Keyword:
#cucumber
Keyword:
#pickles
Keyword:
#dill
Keyword:
#dill weed
Keyword:
#dill seed
Ingredient:
Vegetable
Culture:
American
Method:
Stove Top
Comment & Reviews
ADVERTISEMENT
Just A Pinch Sweepstakes