There is nothing worse than creating a delicious recipe that you know taste amazing, only to take a photo that makes it look like gruel. It may seem impossible to take good photos with your phone, but with a little practice, you can get stunning drool-worthy photos in no time.
These tips will take your dish from drab to delicious in just a few short minutes!
1. Upgrade your equipment.
Apps such as Camera+ upgrade the features of your phone camera allowing you to have more control over your photo.
2. Use the grid.
Use the grid (either in camera plus or on your phone) to help set up an interesting shot.
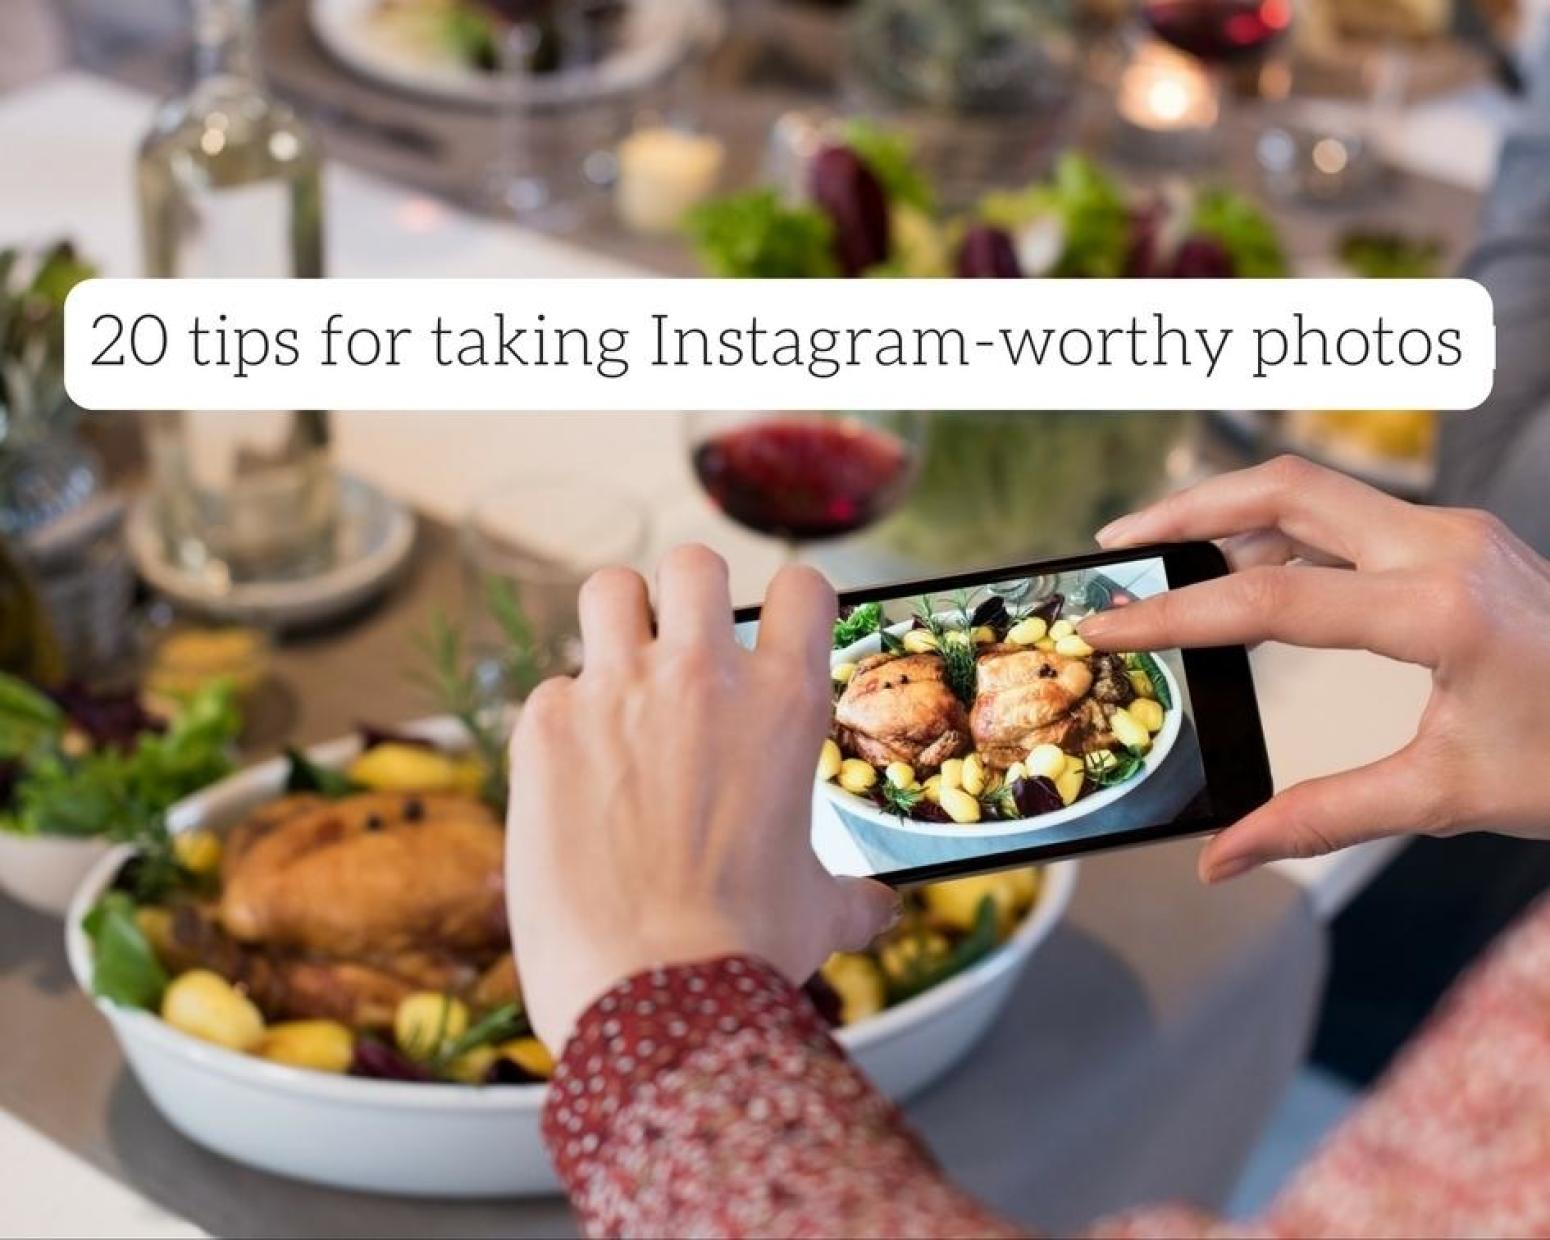
3. Post the correct size photo.
Camera+ will allow you to turn on a square crop for uploading to social media like Instagram. If you use the traditional photo it will be in a 4:3 ratio instead of a 1:1 so when you upload it, much of the image will be cut off.
4. Use the rule of thirds.
Usually, the most interesting eye-pleasing pictures are when the subject isn’t dead center.
5. Shoot overhead.
When using a camera phone it is almost always best to take a shot overhead.
6. Use a leveler.
Using Camera+ provides a leveler to ensure your photo isn’t tilted throwing off the eye.
7. Never use a flash.
The flash creates weird shadows, glares, and yellow lighting that is hard to remove.
8. Use natural light.
For the same reason you don’t want to use a flash, don’t rely on indoor lighting. If at all possible you want to shoot your photo with as much natural light as possible. Take your plate by a window or outside for the best results.
9. Create depth.
Create a little depth when shooting overhead by placing the plate on a chair, table edge, or have someone hold it.
10. Include something white.
In general, to set the color balance later it helps to have something white in the photo.
11. Include a liquid.
Food photos are more appealing with a liquid (sauce, a drink, etc).
12. Style and decorate your photo.
Get creative and create a story with your photo. Add props like books, glasses, computers etc. Add food decoration such as herbs and spices to create a pleasing overall photo.
13. Edit your photo, but do not over-edit.
There is an apex when it comes to food editing, after a certain point too much editing makes the food look unrealistic and not appealing. Get a second opinion if you think you might have overdone it.
14. Using editing programs.
Use programs such as Snapseed, Lightroom, or the Instagram editing to bring your photo to life.
15. Adjust the brightness.
Especially if you took your photo indoors you may need to increase the brightness. Make sure to not “blow out” the photo with too much brightness, just a tad will do.
16. Adjust the contrast.
This make the whites whiter and blacks darker. Again, just a bit, usually no more than 20% will work.
17. Watch the saturation level.
Saturation will boost the color of food. Be careful, again, don’t overdo this.
18. Control the temperature.
Create a warm (yellow) or cool (blue) tone, or correct the temperature of the tone to more neutral. In general, food looks a little better on the blue side vs. the yellow.
19. Sharpen the photo.
You can also sharpen your photo and reduce shadows if needed.
20. Filters are fun for social media.
Chose a filter that you would like and they adjust the level applied for ultimate control over the outcome of the photo.
You don’t have to implement all these things at once. Each time you take a photo try and use a new tip. Soon enough you’ll be using them all like you are a pro! Friends and family will be begging you for your recipes and will so jealous of all your delicious meals!