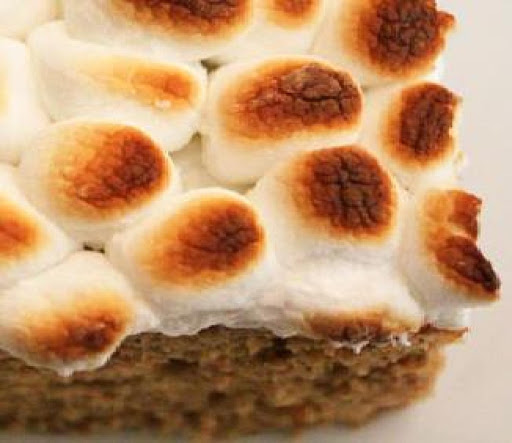
marshmallow topped sweet potato cake

This recipe came from a friend who told me it was from a magazine back in the 1990's. Its very good. Instead of frosting, this cake has toasted marshmallows on top. That means a lot of kids will eat it!
prep time
15 Min
cook time
30 Min
method
---
yield
12 -16
Ingredients
- 2 medium sweet potatoes
- 3 cups all-purpose flour
- 2 teaspoons cinnamon
- 1 1/2 teaspoons baking powder
- 1/2 teaspoon nutmeg, ground
- 1/2 teaspoon ground ginger
- 1 cup butter, room temperature
- 1 1/2 cups brown sugar, firmly packed
- 4 large eggs, room temperature
- 2 teaspoons vanilla extract
- 1 package (10 1/2 ounces) mini-marshmallows
How To Make marshmallow topped sweet potato cake
-
Step 1Preheat the oven to 400 degrees. Pierce the washed sweet potatoes with a fork so the steam can escape. Place the sweet potatoes in the oven on the oven rack and bake for about 45 minutes or until tender when pierced with a fork. Peel and mash baked sweet potatoes with a fork until smooth. Measure out 1 ½ cups of the sweet potato puree. Set aside. (Any remeining sweet potatoes can be stored for another use. They freeze fine.) Reduce oven heat to 350 degrees. Line an 13 by 9 inch baking pan with foil, and spray with cooking spray.
-
Step 2In a large bowl, stir together flour, cinnamon, baking powder, nutmeg and ginger. Set aside. In a mixer bowl, cream the butter and sugar at medium speed until light and fluffy, about 3 minutes. Add the eggs, one at a time, scraping down the bowl as needed. Mix in the vanilla. Working in batches, with the mixer on low, add the flour mixture until just mixed. Add the sweet potato puree until mixed and well blended.
-
Step 3Pour the batter into the prepared pan and bake 30-40 minutes, or until a toothpick inserted into the center comes out clean. Scatter the marshmallows over the top, being sure to cover the entire cake. Preheat the broiler, and broil the until the marshmallows are golden-brown. If necessary rotate the pan a few times to evenly brown marshmallows. Remove from oven and allow to cool to room temperature before cutting into squares.
- Last Step: Don't forget to share! Post a picture of your finished recipe here and on your favorite social network. Don't forget to tag Just A Pinch and include #justapinchrecipes!
Discover More
Category:
Cakes
Comment & Reviews
ADVERTISEMENT
Just A Pinch Sweepstakes