auntie's red velvet cake

I was always afraid to make this cake because my aunt's was SOO good. Well, turns out, mine isn't so bad either!
Blue Ribbon Recipe
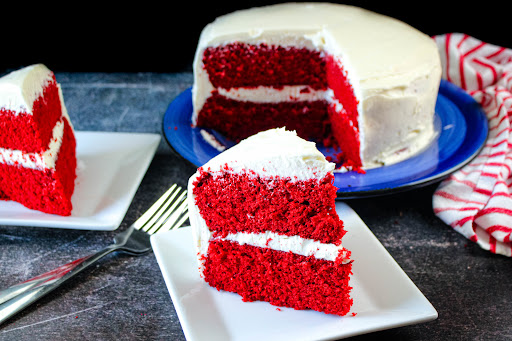
You can tell that this red velvet cake is a recipe handed down through the family. It's an old-fashioned recipe slightly different than our modern-day red velvet cake. Bright red, the cake is tender and dense but does have a little fluff. The chocolate flavor is slight. The frosting is light and creamy but not nearly as rich as the cream cheese frosting you find used today. If you don't like super-rich desserts, this red velvet cake is for you.
prep time
30 Min
cook time
30 Min
method
Bake
yield
8 serving(s)
Ingredients
- CAKE
- 1 cup shortening
- 1 3/4 cups granulated sugar
- 2 1/2 cups cake flour
- 1 1/4 teaspoons salt
- 2 large eggs
- 1 cup buttermilk
- 1 teaspoon vanilla
- 1 teaspoon baking soda
- 1 1/2 teaspoons white vinegar
- 1 ounce red food coloring
- 1 1/2 teaspoons cocoa powder
- ICING
- 1/2 cup shortening
- 1/2 cup margarine
- 1 cup granulated sugar
- 3 tablespoons all-purpose flour
- 2/3 cup milk
- 1 teaspoon vanilla
How To Make auntie's red velvet cake
Test Kitchen Tips
We did double the frosting to make sure we had enough for decorating. To prevent crumbs in the icing, do a thin crumb coat and pop the cake into the fridge until firm.
-
 Step 1Preheat oven to 350 degrees. Mix sugar, shortening, salt, and baking soda in a stand mixer with whisk attachment.
 -
Step 2In a separate bowl, measure out flour.
-
Step 3In another bowl, mix together eggs, buttermilk, vanilla, and vinegar.
-
Step 4Alternate pouring the flour and buttermilk mixture into the mixing bowl.
-
Step 5Mix in the cocoa and the red food coloring. Do not over-mix.
-
Step 6Bake in 2 8" round pans for 25 minutes or until a toothpick comes out clean.
-
Step 7Combine the frosting ingredients in a stand-up mixer with a wire whisk.
-
Step 8Beat for 15 minutes until smooth and creamy. You MUST mix for the full 15 minutes or you WILL be disappointed!
-
Step 9After the cake is completely cool, layer it up and ice it!
- Last Step: Don't forget to share! Post a picture of your finished recipe here and on your favorite social network. Don't forget to tag Just A Pinch and include #justapinchrecipes!


Comment & Reviews
ADVERTISEMENT
Just A Pinch Sweepstakes