Latest Pages from Janet's Notebook
April 24, 2012
Go Bold With Butter: Spreading The Joy of Home Cooking
April 10, 2012
Potluck Recipes Feed The Spirit of Sharing
April 3, 2012
Cupcakes Add Sweetness to Memorable Easter Celebration
March 27, 2012
Welcome Sweet Springtime with Festive Candy Recipes

Cracking the Secret to Perfect Eggs

Tue, Mar 30, 2010
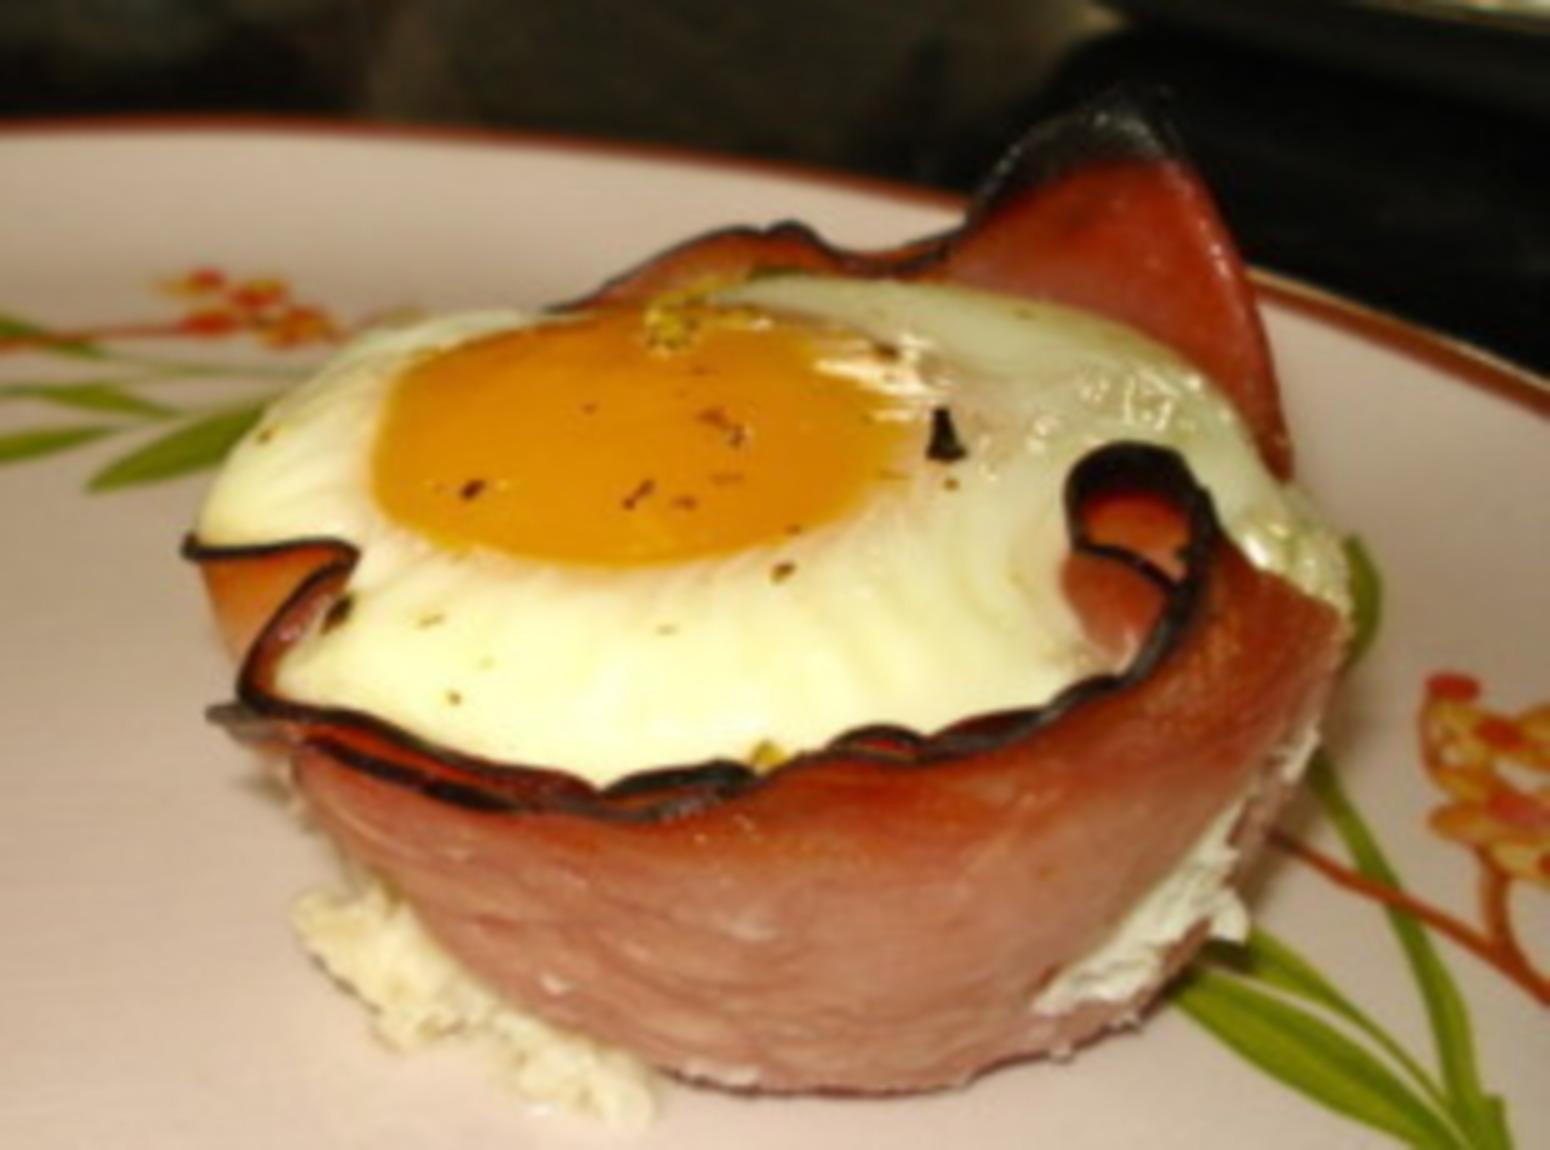
This time of year eggs seem to be everywhere! If I'm not whipping up a batch of scrambled eggs for the morning rush, then I'm coaxing them into the form of the perfect Sunday Brunch quiche. And if your family is anything like mine, you take your breakfast time seriously. (By the way, we recently fell in love with member Heather Stepniewski's simple Ham, Egg & Cheese Cups. Yum!)
Our breakfast devotion is especially evident around holidays, so with Easter right around the corner our friend the egg is elevated to top mealtime billing! Brightly colored hard-boiled eggs decorate the table, our baskets and our plates. Here's what I've been told is a sure-fire way to get a perfectly hard-boiled finished product:
• Try to use room temperature eggs that are free of any cracks and are about 4 days old. They end up being easiest to peel.
• Fill a pan with just enough cold water to cover eggs.
• Gently place eggs into the water to form a single layer - If eggs are layered on top of each other they will cook unevenly... and no one wants an odd egg!
• Bring water JUST to a rapid boil over high heat. As soon it reaches a rapid boil, remove pan from burner and cover tightly.
• Let eggs rest, covered - for apx. 17 minutes - then place them in a bath of ice cubes or cold water. This stops the cooking process and gives you that perfectly done egg!
• After about 10 minutes the eggs can be removed from their icy bath and are ready to be peeled, eaten or colored!
Good luck with your eggsperimenting! And remember, if things don't turn out just the way you'd like, have no fear.... there are more than enough marshmallow eggs to go around.


Thanks again.
I never knew how to boil an egg properly