chocolate truffle cheesecake
(1 rating)
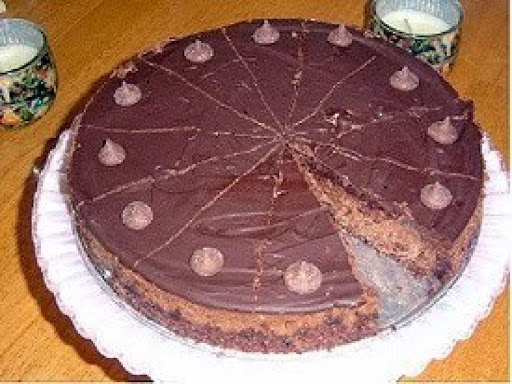

This is a very rich and decadent dessert. My husband makes this for Christmas every year we're home.
►
(1 rating)
yield
16 serving(s)
prep time
30 Min
cook time
45 Min
method
Bake
Ingredients For chocolate truffle cheesecake
- CHOCOLATE CRUST:
-
1 - 9 oz pkgchocolate wafer cookies, crushed
-
2 Tbspsugar
-
1/4 cbutter, melted
- CREAM CHEESE FILLING:
-
1/4 csemi-sweet chocolate chips
-
1 1/4 cheavy whipping cream
-
3 - 8 oz pkgcream cheese, room temperature
-
1 csugar
-
1/3 ccocoa powder
-
3eggs
-
1 tspvanilla extract
- WHIPPED CHOCOLATE MOUSSE TOPPING:
-
4 oztub style cream cheese
-
1/4 ccocoa
-
1/3 csplenda
-
2 cwhipped topping, divided
How To Make chocolate truffle cheesecake
-
1Preheat oven to 350 degrees F. Grease sides and bottom of a 9 inch springform pan.
-
2Crust: In a small bowl, combine cookie crumbs and sugar, stir in butter. Press into the bottom and 1 1/2 inches up the side of the prepared springform pan. Bake for 10 minutes. Cool on a wire rack. Reduce heat to 325 degrees F.
-
3Filling: In a saucepan over low heat melt chocolate chips; stir until smooth. Remove from heat and add the cream; mix well. Set aside.
-
4In a mixing bowl, beat cream cheese and sugar until smooth. Add cocoa beat well. Add eggs; beat on low just until combined. Stir in vanilla and reserved chocolate mixture just until blended. Pour into crust.
-
5Bake in a water bath by settting pan in a 14.5×10.5×2 roasting pan. Fill halfway up the springform pan with warm water and carefully place on oven rack in the center of the oven. Bake for 45-50 minutes or until center is almost set.
-
6Topping: Melt chocolate chips in a saucepan over low heat, stirring until smooth. Remove from heat. Stir in cream and vanilla; mix well. Spread over filling.
-
7Refrigerate overnight. Carefully run a knife around the edge of the pan to loosen. Carefully loosen springform and remove sides of pan.
-
8Before serving garnish with whipped topping and kisses if desired.
-
9For easier slicing; remove cake from refrigerator about 10-15 minutes before serving.
- Last Step: Don't forget to share! Make all your friends drool by posting a picture of your finished recipe on your favorite social network. And don't forget to tag Just A Pinch and include #justapinchrecipes so we can see it too!
ADVERTISEMENT
Comments and reviews are disabled on unpublished recipes.
ADVERTISEMENT