Before I share this recipe with you, let me warn you: it’s a royal mess. But as is the case with many messy dishes (cinnamon rolls, anyone?), it’s also darn delicious.
These are my brother’s chicken tacos. He made them for dinner at our house last night. And truth be told, they’re actually probably Heidi’s chicken tacos (hi, Heidi!) but since my brother has made them with great regularity over the past twenty years of his life, I can’t help but associate them with him. This is a departure from the normal buy-your-taco-shells-like-normal-people-do method of making tacos, but it’s a fun thing to do with friends on a Friday night.
In this recipe, the tacos are assembled, then fried in oil. This is where the “mess” part comes in; between the assembling and the frying and the garnishing, you need to light a candle and have a moment of silence for your kitchen. But if you can get past that part of it, these tacos really are fun to make. Try not to fear the aftermath.
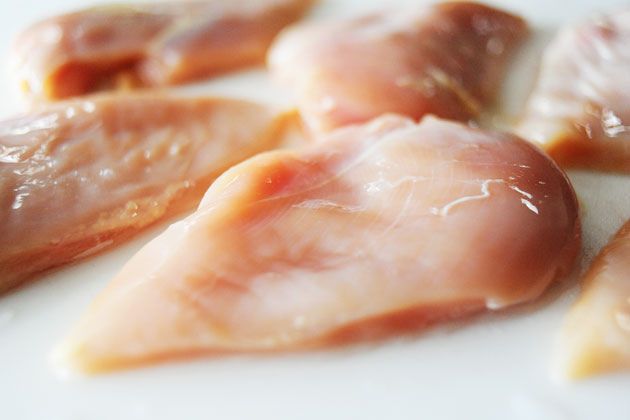
Begin with boneless, skinless chicken breasts.
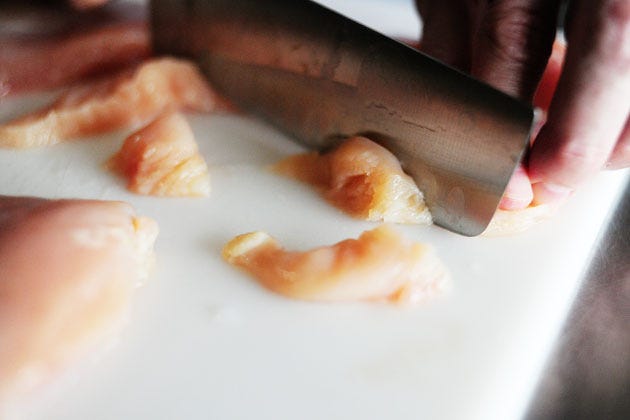
Cut them down the center lengthwise, then cut each half into bit-size slices.
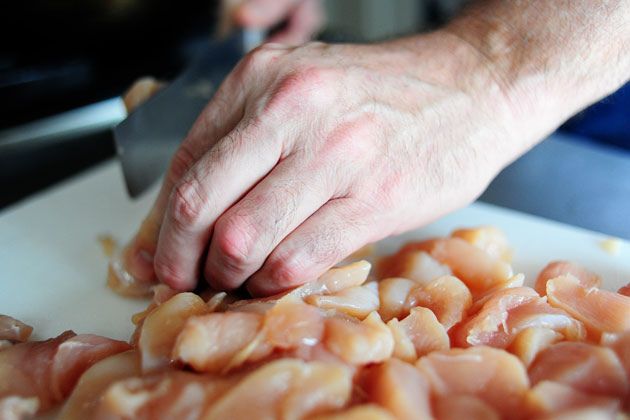
These are not my hands. I just needed to clarify that.
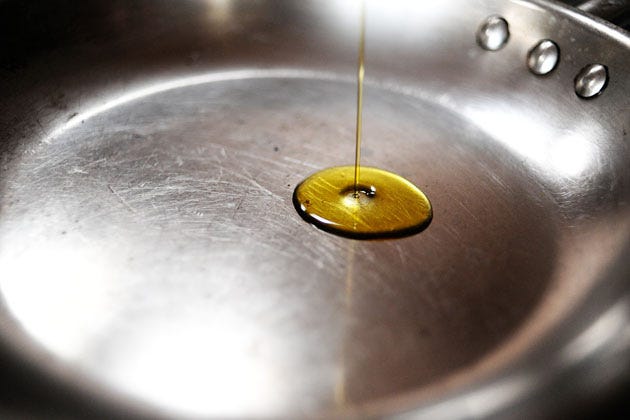
Heat a couple of tablespoons of canola oil in a skillet over medium-high heat.
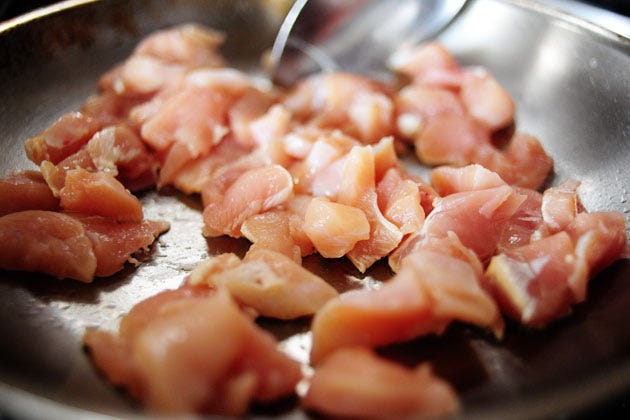
Throw in the chicken, spreading it out in the pan.
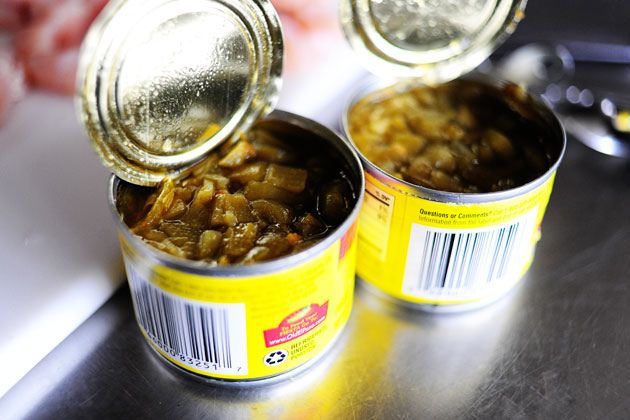
Crack open a couple of cans of diced green chilies…
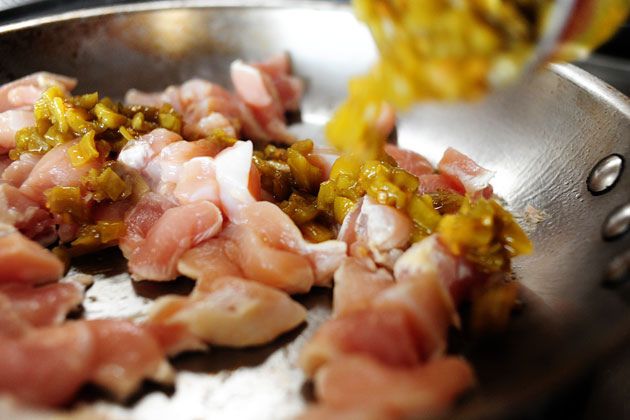
And dump it into the pan with the chicken.
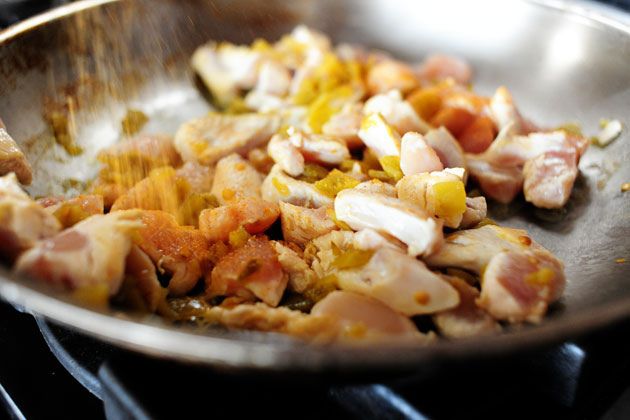
Season the chicken with things like cumin, chili powder, and salt…or you can just use taco seasoning. Spice it up with some cayenne if you can handle the heat.
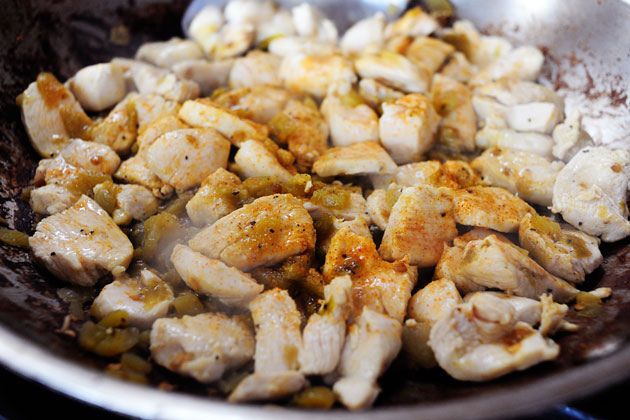
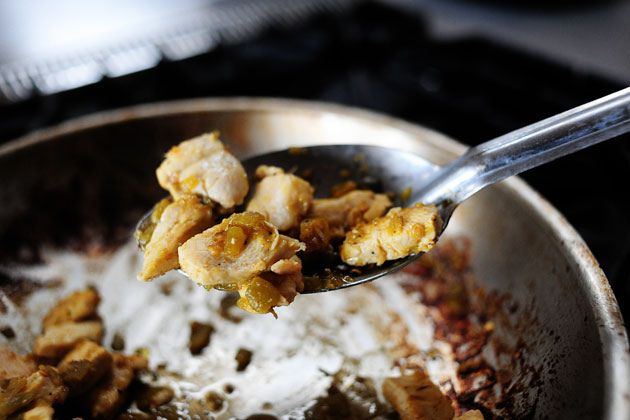
Cook the chicken, stirring occasionally, until it’s totally done. Then turn off the heat and set the chicken aside while you get the other taco ingredients ready.
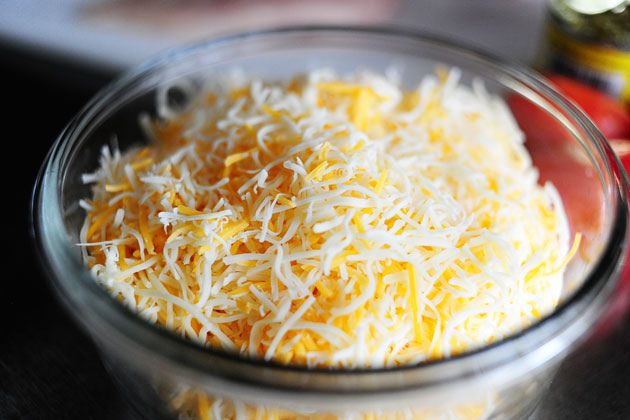
You’ll need finely grated cheese. This is the pregrated stuff—it’s a cheddar/jack mix—and it actually works just fine in this recipe.
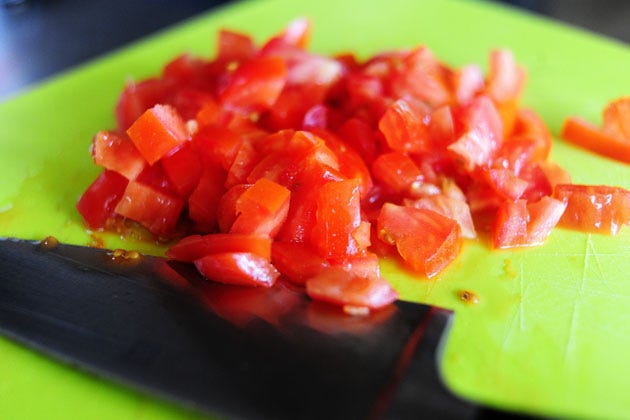
You’ll also need some diced Roma tomatoes…
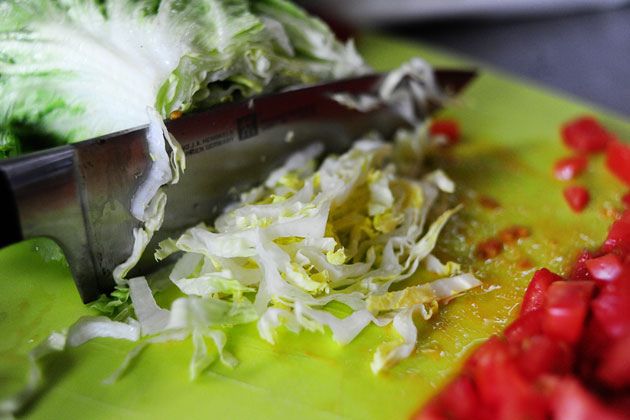
And some thinly sliced lettuce. This is Romaine—I just lopped off the top and sliced away.
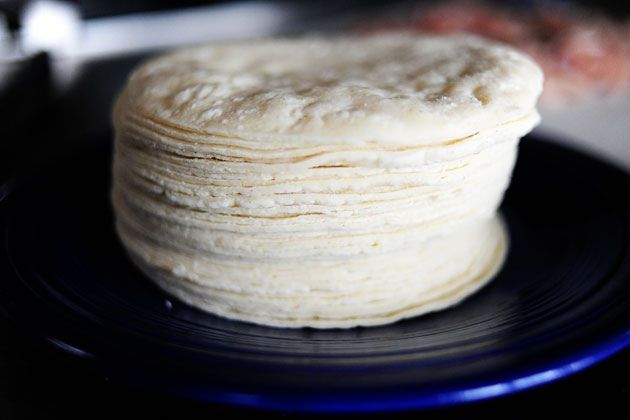
You’ll also need sour cream, hot sauce, and small corn tortillas.
TO FRY THE TACOS
To fry the tacos, heat a couple of inches of canola oil in a large skillet over medium-high heat.
*Use caution when frying with oil, please.*
*Thank you.*
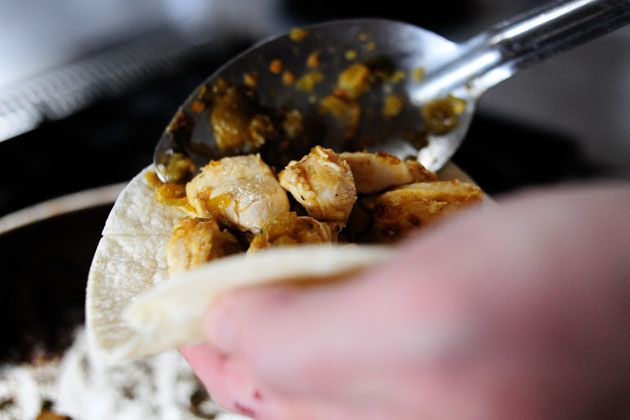
Grab a spoonful of the chicken/chili mixture.
And scoop it into a tortilla.
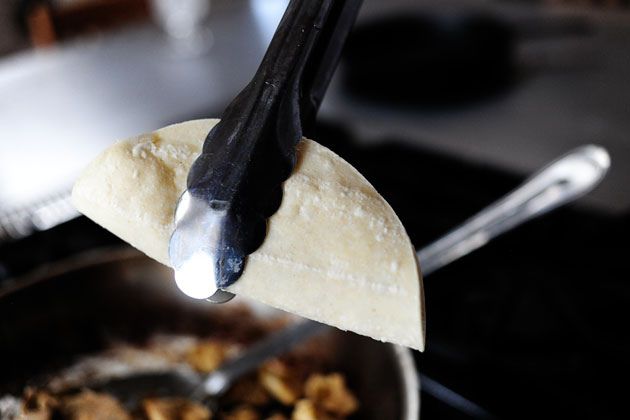
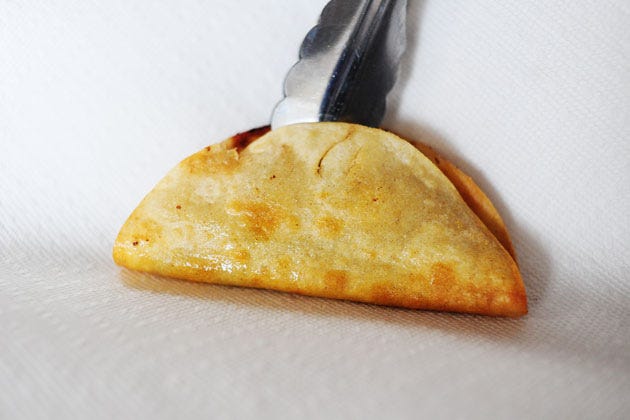
Fold up the tortilla, then clasp the taco shut with a pair of metal tongs.
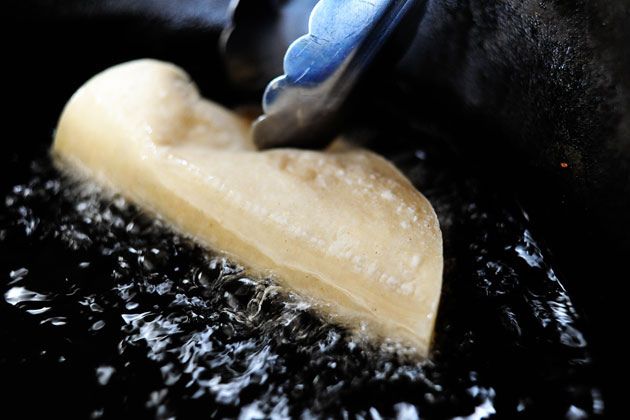
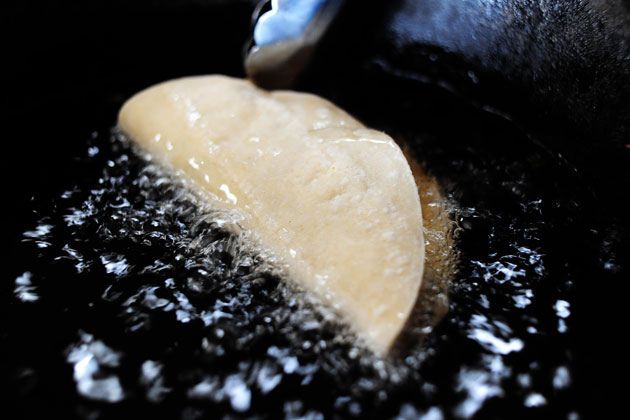
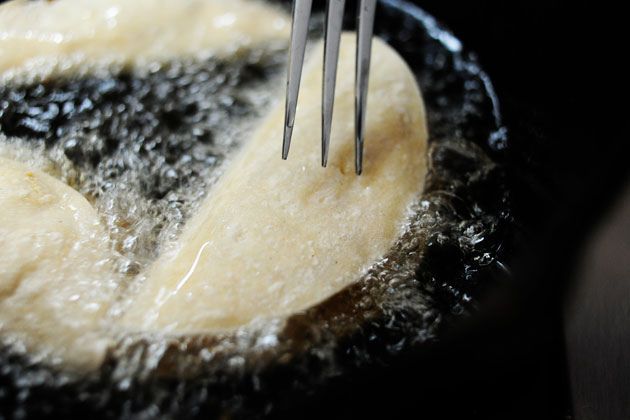
Use the tongs to set the taco into the oil, then use the tongs to hold the top half down to “form” the taco.
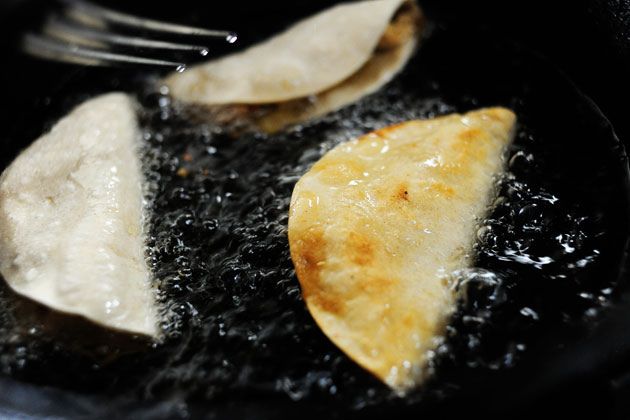
After a few seconds, it will stay put and you can assemble and fry a couple more tacos.
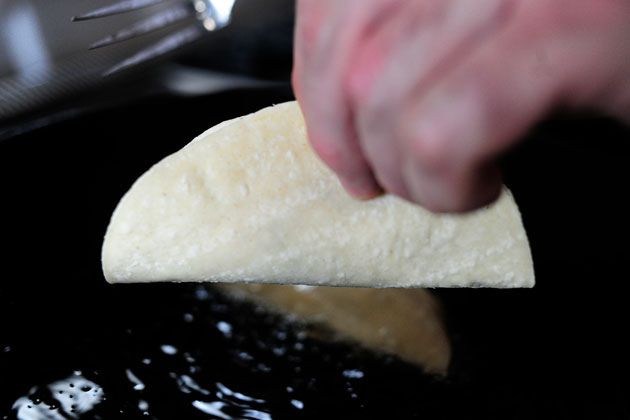
Don’t be like my brother. He uses his fingers to hold the tortillas closed as he places the tacos in the pan.
Then he uses a fork to hold it closed and flip the tacos as they cook.
The fork is okay. The fingers? Not so much.
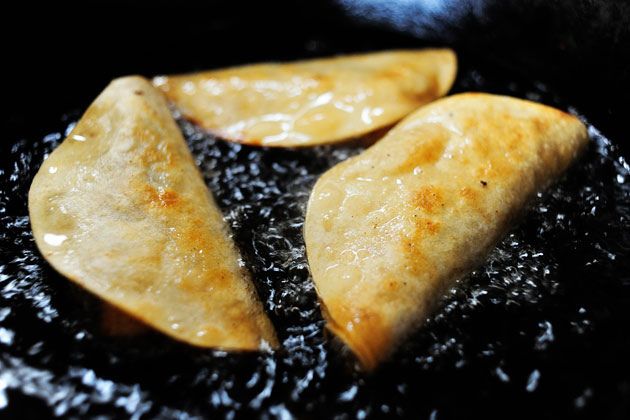
Flip the tacos when they’re light golden brown.
Then cook the other side.
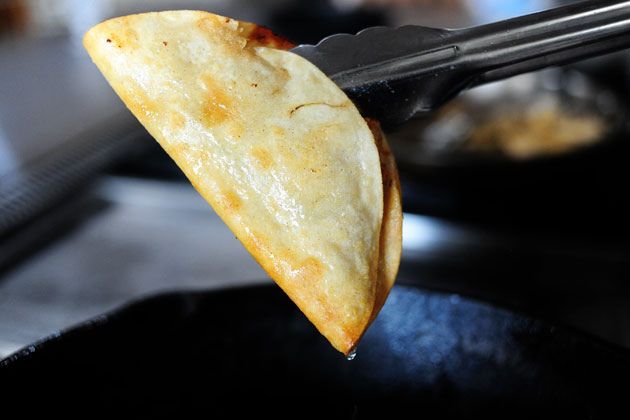
When they’re done, lift each taco out of the oil, holding it sideways and shaking lightly to get the excess oil to drip out.
Have a stack of at least 5 to 6 paper towels nearby, and place each taco on top of the stack.
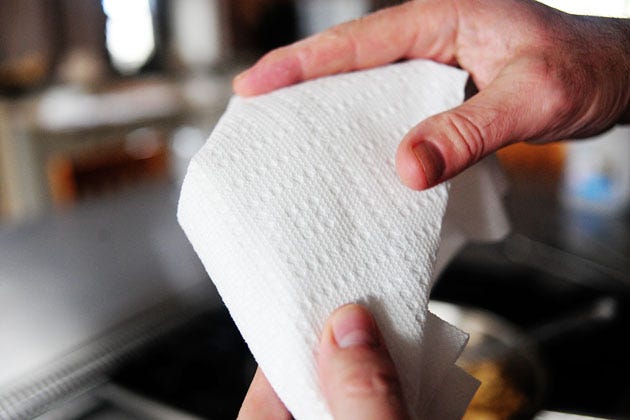
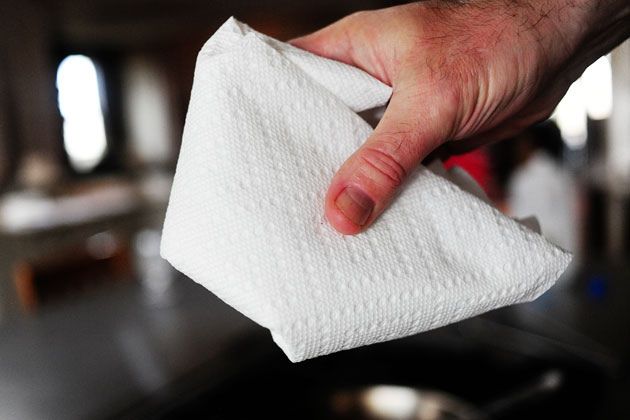
Fold the corners and sides of the paper towels tightly around the taco…
Then gently shake the taco three or four times to get out the excess oil. You’ll want the paper towels to be snug around the taco so the chicken won’t fall out!
A note about the oil/frying: I’m always surprised how UNgreasy these tacos are. If you remove them from the oil sideways and let the excess drip out, and if you do the little shaking trick, they don’t have a greasy/oily quality at all.
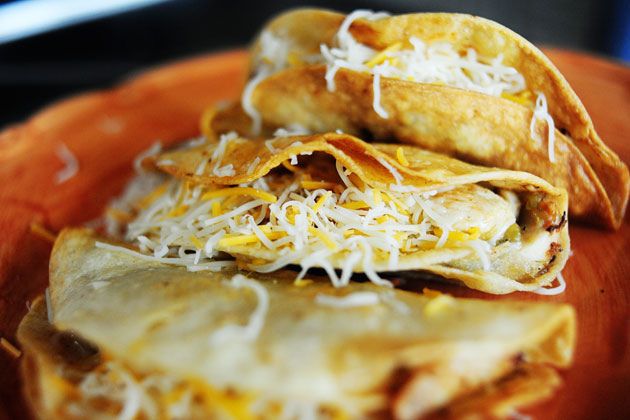
Place the tacos on a plate after shaking, then carefully pry open the tops of the tacos and stuff in some cheese. (You can use tongs, a fork, or your fingers; the tacos will be a little hot.) Then let them sit for several minutes before serving. The cheese will quickly melt inside the hot tacos, and they’ll be good to go when you serve them.
NOTE: It’s ideal if you can keep going with the frying process and have a friend standing nearby who can take care of the cheese-stuffing step. That keeps the tacos moving through the assembly line more quickly.
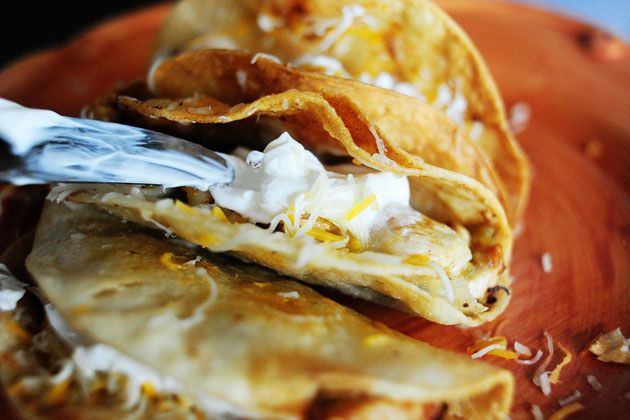
When it’s time to serve, there is a PRECISE order of garnishing—this is according to my brother, who is unyielding and unwavering in his adherence to proper taco garnishing rules. Start with a smear (using a knife) of sour cream.
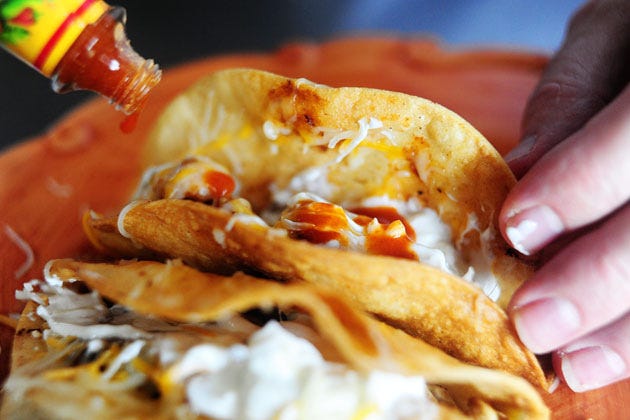
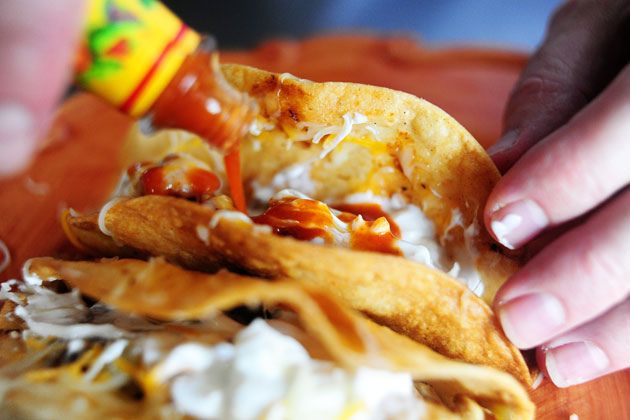
Then add several dashes of your favorite hot sauce.
Picante sauce is okay, but my brother says the liquid nature of bottled hot sauces is best because it drips down into the chicken and makes for more of a scrumptious snarfing experience. And what he says goes.
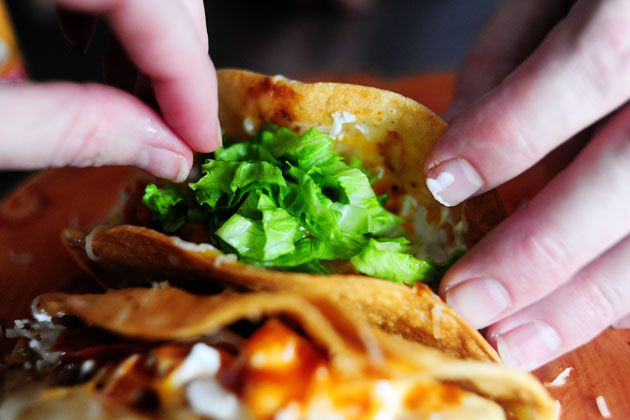
Next comes plenty of lettuce…
And tomatoes…
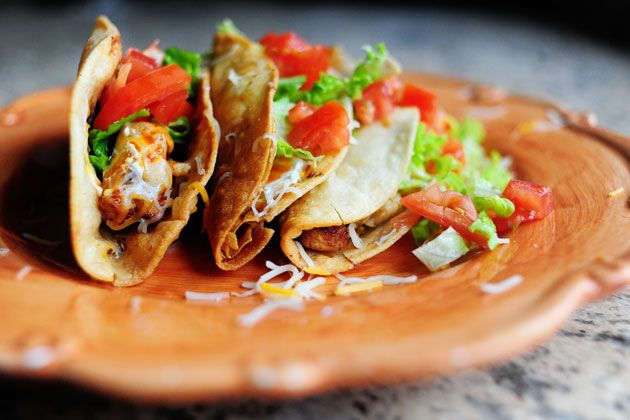
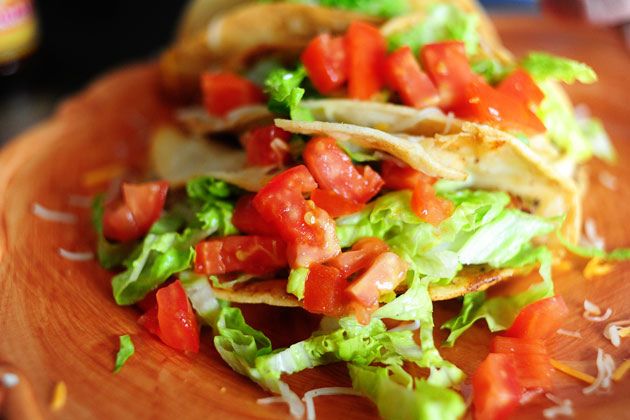
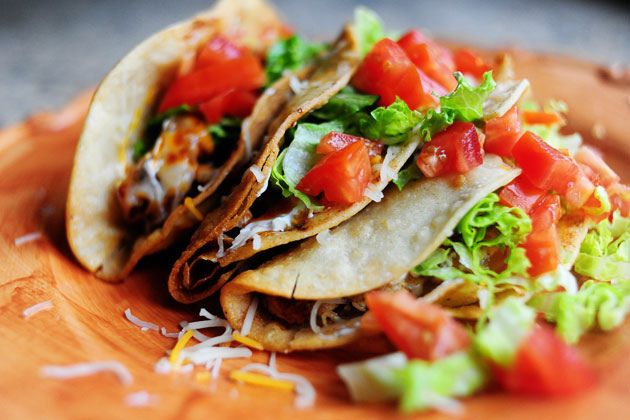
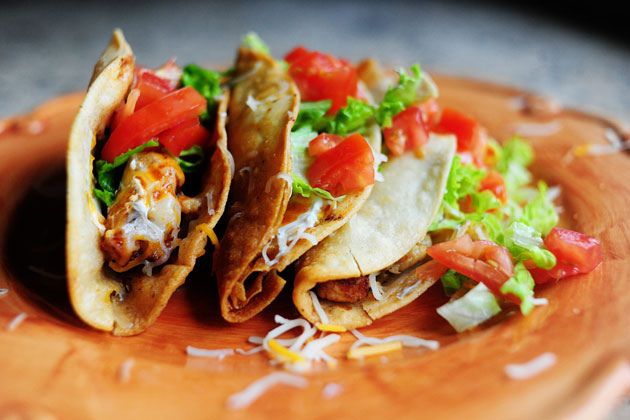
And that is a plate of chicken tacos.
Again, it’s ideal if you can make this with friends or family members and turn it into an assembly line. Just keep a close watch on the oil/frying process, making sure anyone who helps you has their wits about them—then you can have others help garnish the tacos and keep serving them.
Fun to make! Crispy, crunchy, and oh, so good. And you can change up the meat you use, of course. Shrimp is my personal favorite.
Enjoy!
